Gaia 3.0 includes a Unity integration path that lets teams load Gaia Translation Memory directly into the Unity Editor and trusted development builds. The goal is simple: validate localized UI text in Play mode, connect Unity text objects to Gaia rows, and confirm workflow status colors without manually exporting and rebuilding localization files for every check.
This tutorial follows the Gaia Unity setup page for Healthy Gamer - Chapter 8, configured for English (United States) to Arabic (Saudi Arabia). The project values come from that setup page, and the workflow is the same for any Gaia project with a target language and Translation Memory access.
The setup page uses these values for the example project. Replace them for a different project:
- API base URL:
http://127.0.0.1:4000/api - Project ID:
592c0d19-002c-43f8-8b74-f1529dbff368 - Target language:
ar-SA - TM route:
GET /api/projects/:projectId/translation-memory?targetLanguage=ar-SA
Step 1: Keep Gaia and Unity open
Start with both systems available. Leave the Gaia Unity setup page open, because it contains the project ID, target language, endpoint shape, and copy-paste values you will use in Unity. Open the Unity project and scene you want to test in the Unity Editor.
The sample bridge expects the Gaia backend to be running at http://127.0.0.1:4000/api before
you enter Play mode. If the backend is down, Unity will not be able to fetch Translation Memory.
Step 2: Copy the Unity bridge script
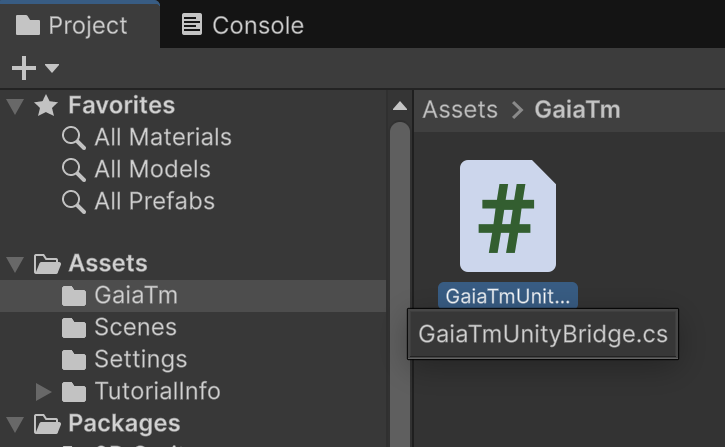
Copy GaiaTmUnityBridge.cs from the Gaia repository into your Unity project. The Gaia source
path is docs/integrations/unity/GaiaTmUnityBridge.cs, and the recommended Unity destination
is Assets/GaiaTm/GaiaTmUnityBridge.cs.
Create the Assets/GaiaTm folder if it does not exist yet. After the file is in place, wait
for Unity to compile the script before you try to add it as a component.
Step 3: Create a GameObject and attach the bridge
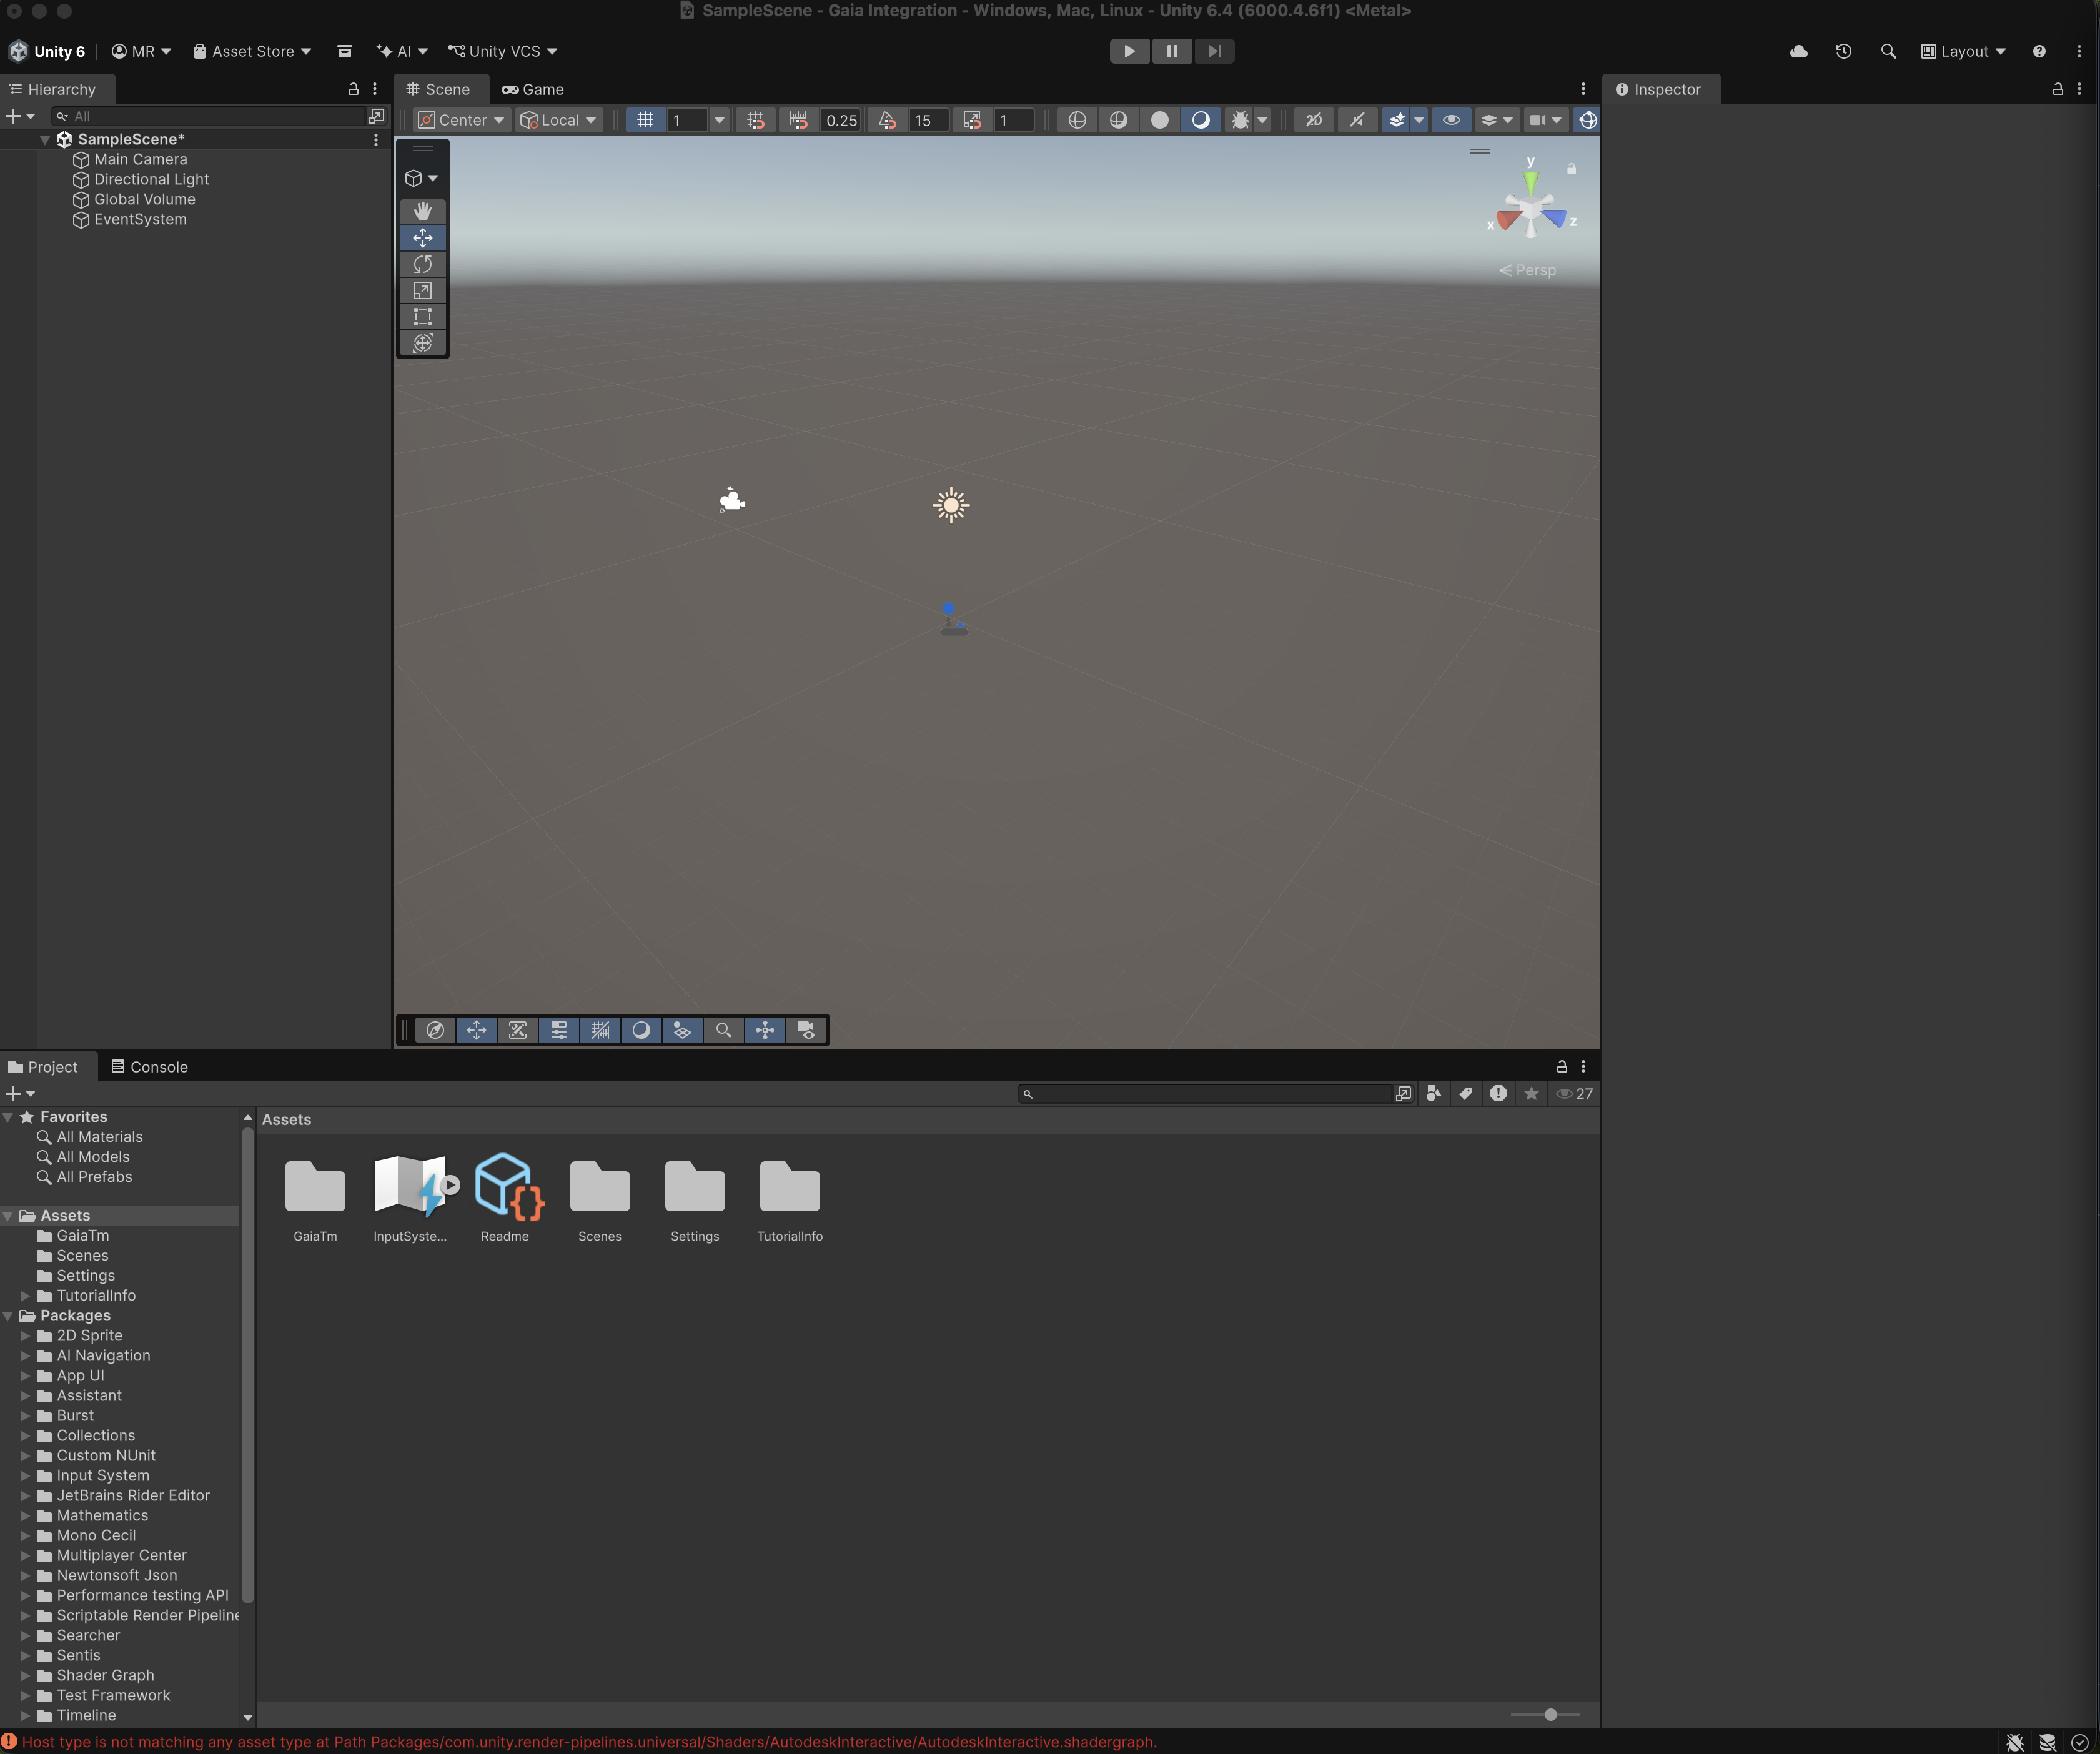
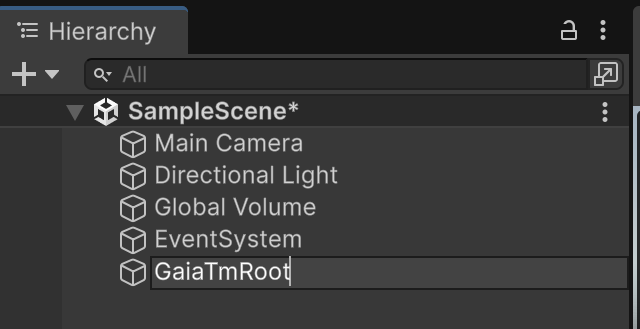
In Unity, the bridge needs to live on a GameObject. Open the scene you will test, then create a new empty GameObject in the Hierarchy. You can right-click empty space in the Hierarchy and choose Create Empty, or use GameObject > Create Empty from the top menu.
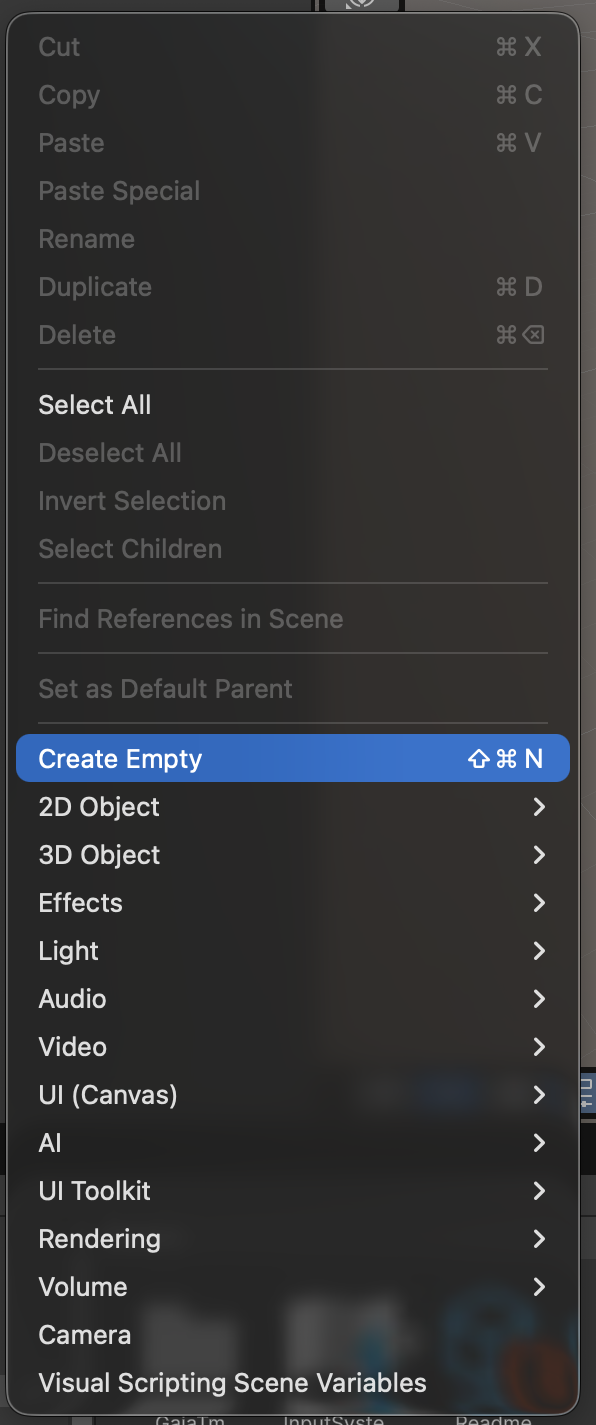
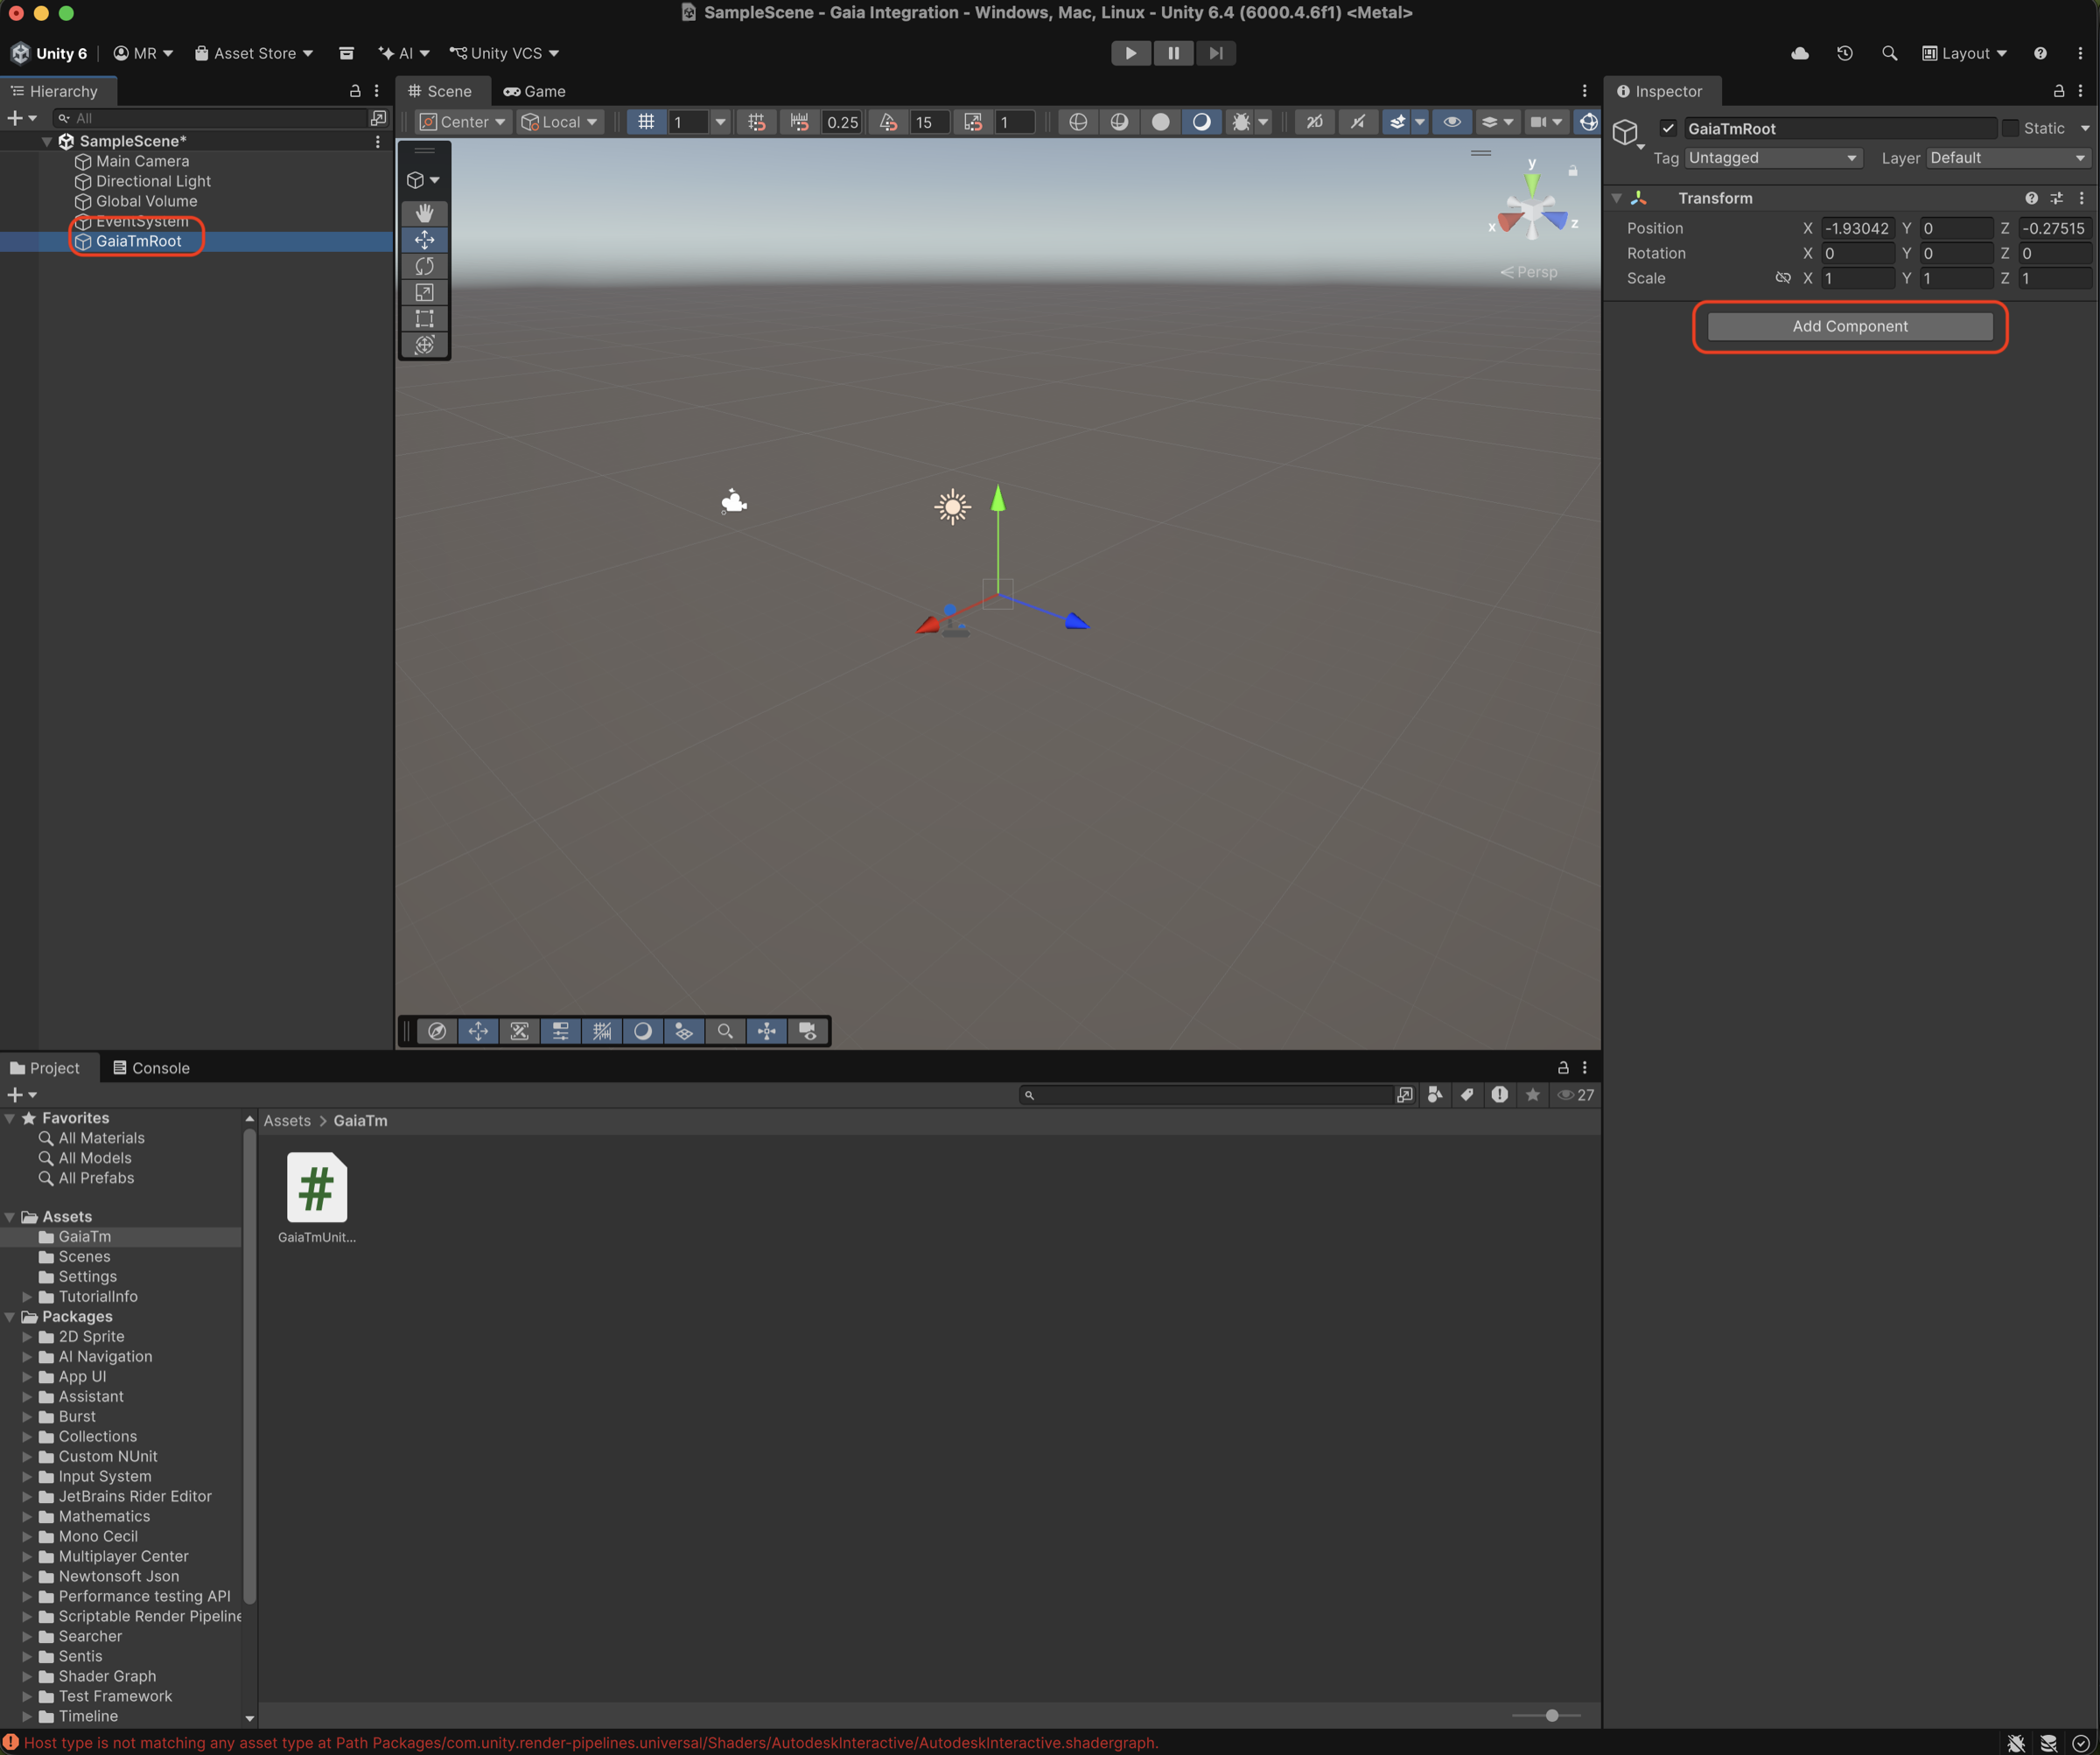
Select the new row in the Hierarchy, then rename it to GaiaTmRoot. Keeping the name explicit
makes it easier to find the bridge object later, especially in larger scenes.
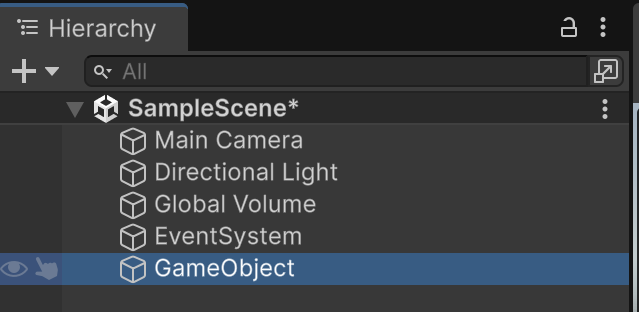
Confirm that Unity can see the bridge script under Assets/GaiaTm, then select
GaiaTmRoot, click Add Component in the Inspector, search for
GaiaTm, and choose GaiaTmUnityBridge.
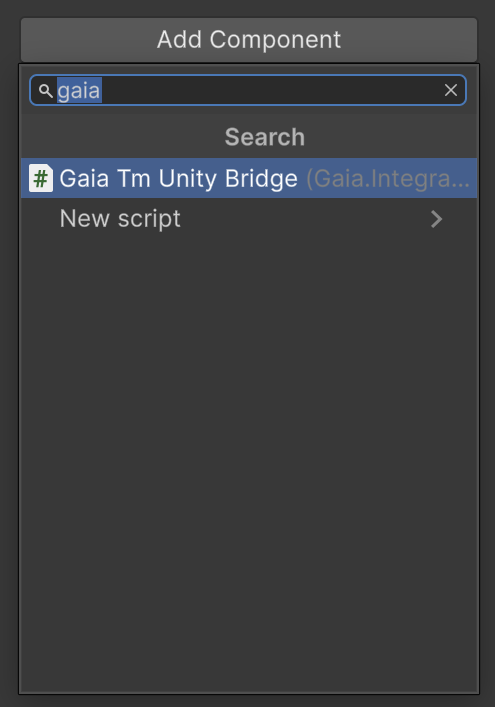
If the component never appears, Unity probably did not compile the script. Open the Unity Console, fix any red C# errors, and then return to the Add Component flow.
Step 4: Paste Gaia connection values
With GaiaTmRoot selected, fill the Gaia API fields on the bridge component. For this example,
the API base URL is http://127.0.0.1:4000/api, the project ID is
592c0d19-002c-43f8-8b74-f1529dbff368, and the target language is ar-SA.
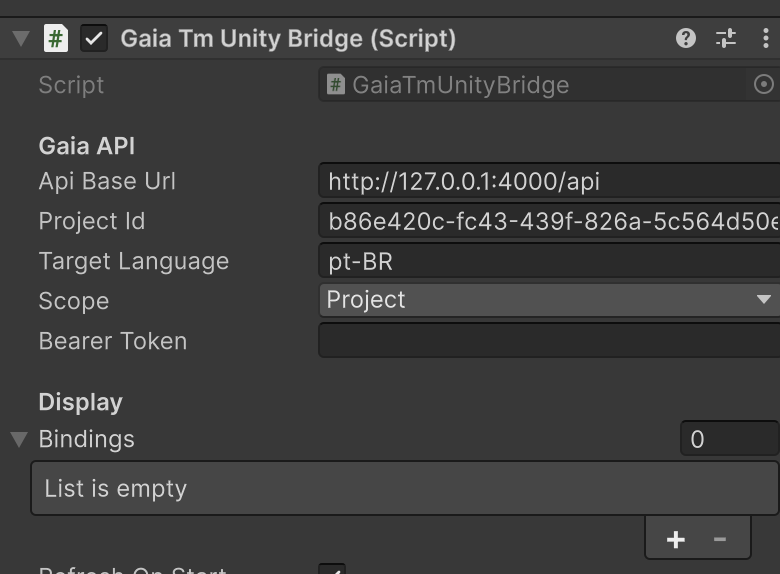
Step 5: Get bearer token
Gaia signs API requests with Authorization: Bearer <token>. For local Editor testing,
copy the trusted Gaia bearer token from the Gaia setup page and paste it into the Bearer Token field in
Unity.

Treat this as an Editor-only validation step. Do not ship owner, manager, translator, or reviewer bearer tokens in a public player build.
Step 6: Choose TM scope
In the Gaia API section of the bridge component, find the Scope dropdown. For the beginner proof, choose Project. This limits the request to the exact Gaia project ID configured in Step 4.
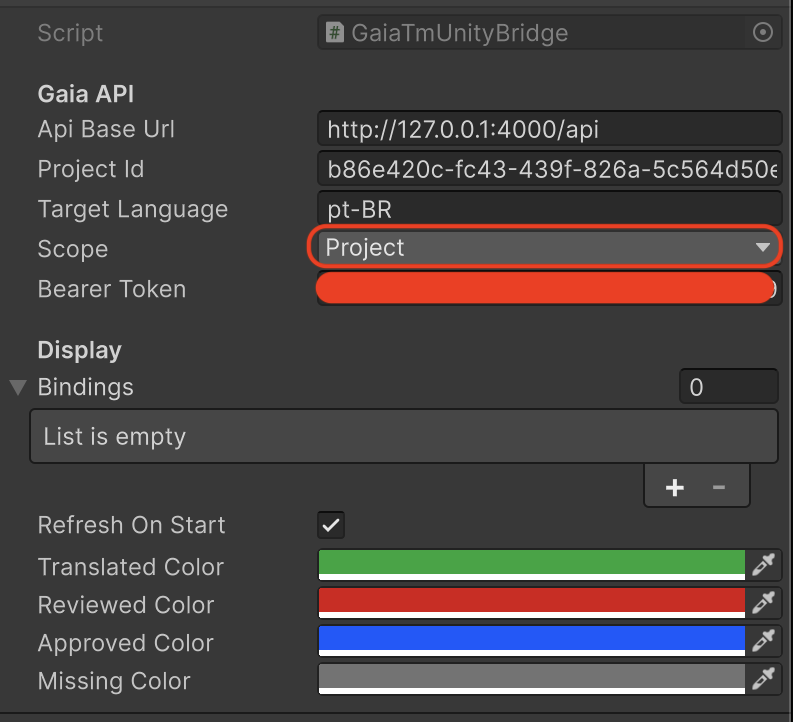
Accessible Projects is an advanced option for trusted internal tools that need TM entries from sibling projects the current user can access. If you are not sure which scope to choose, keep Project.
Step 7: Wire UI bindings
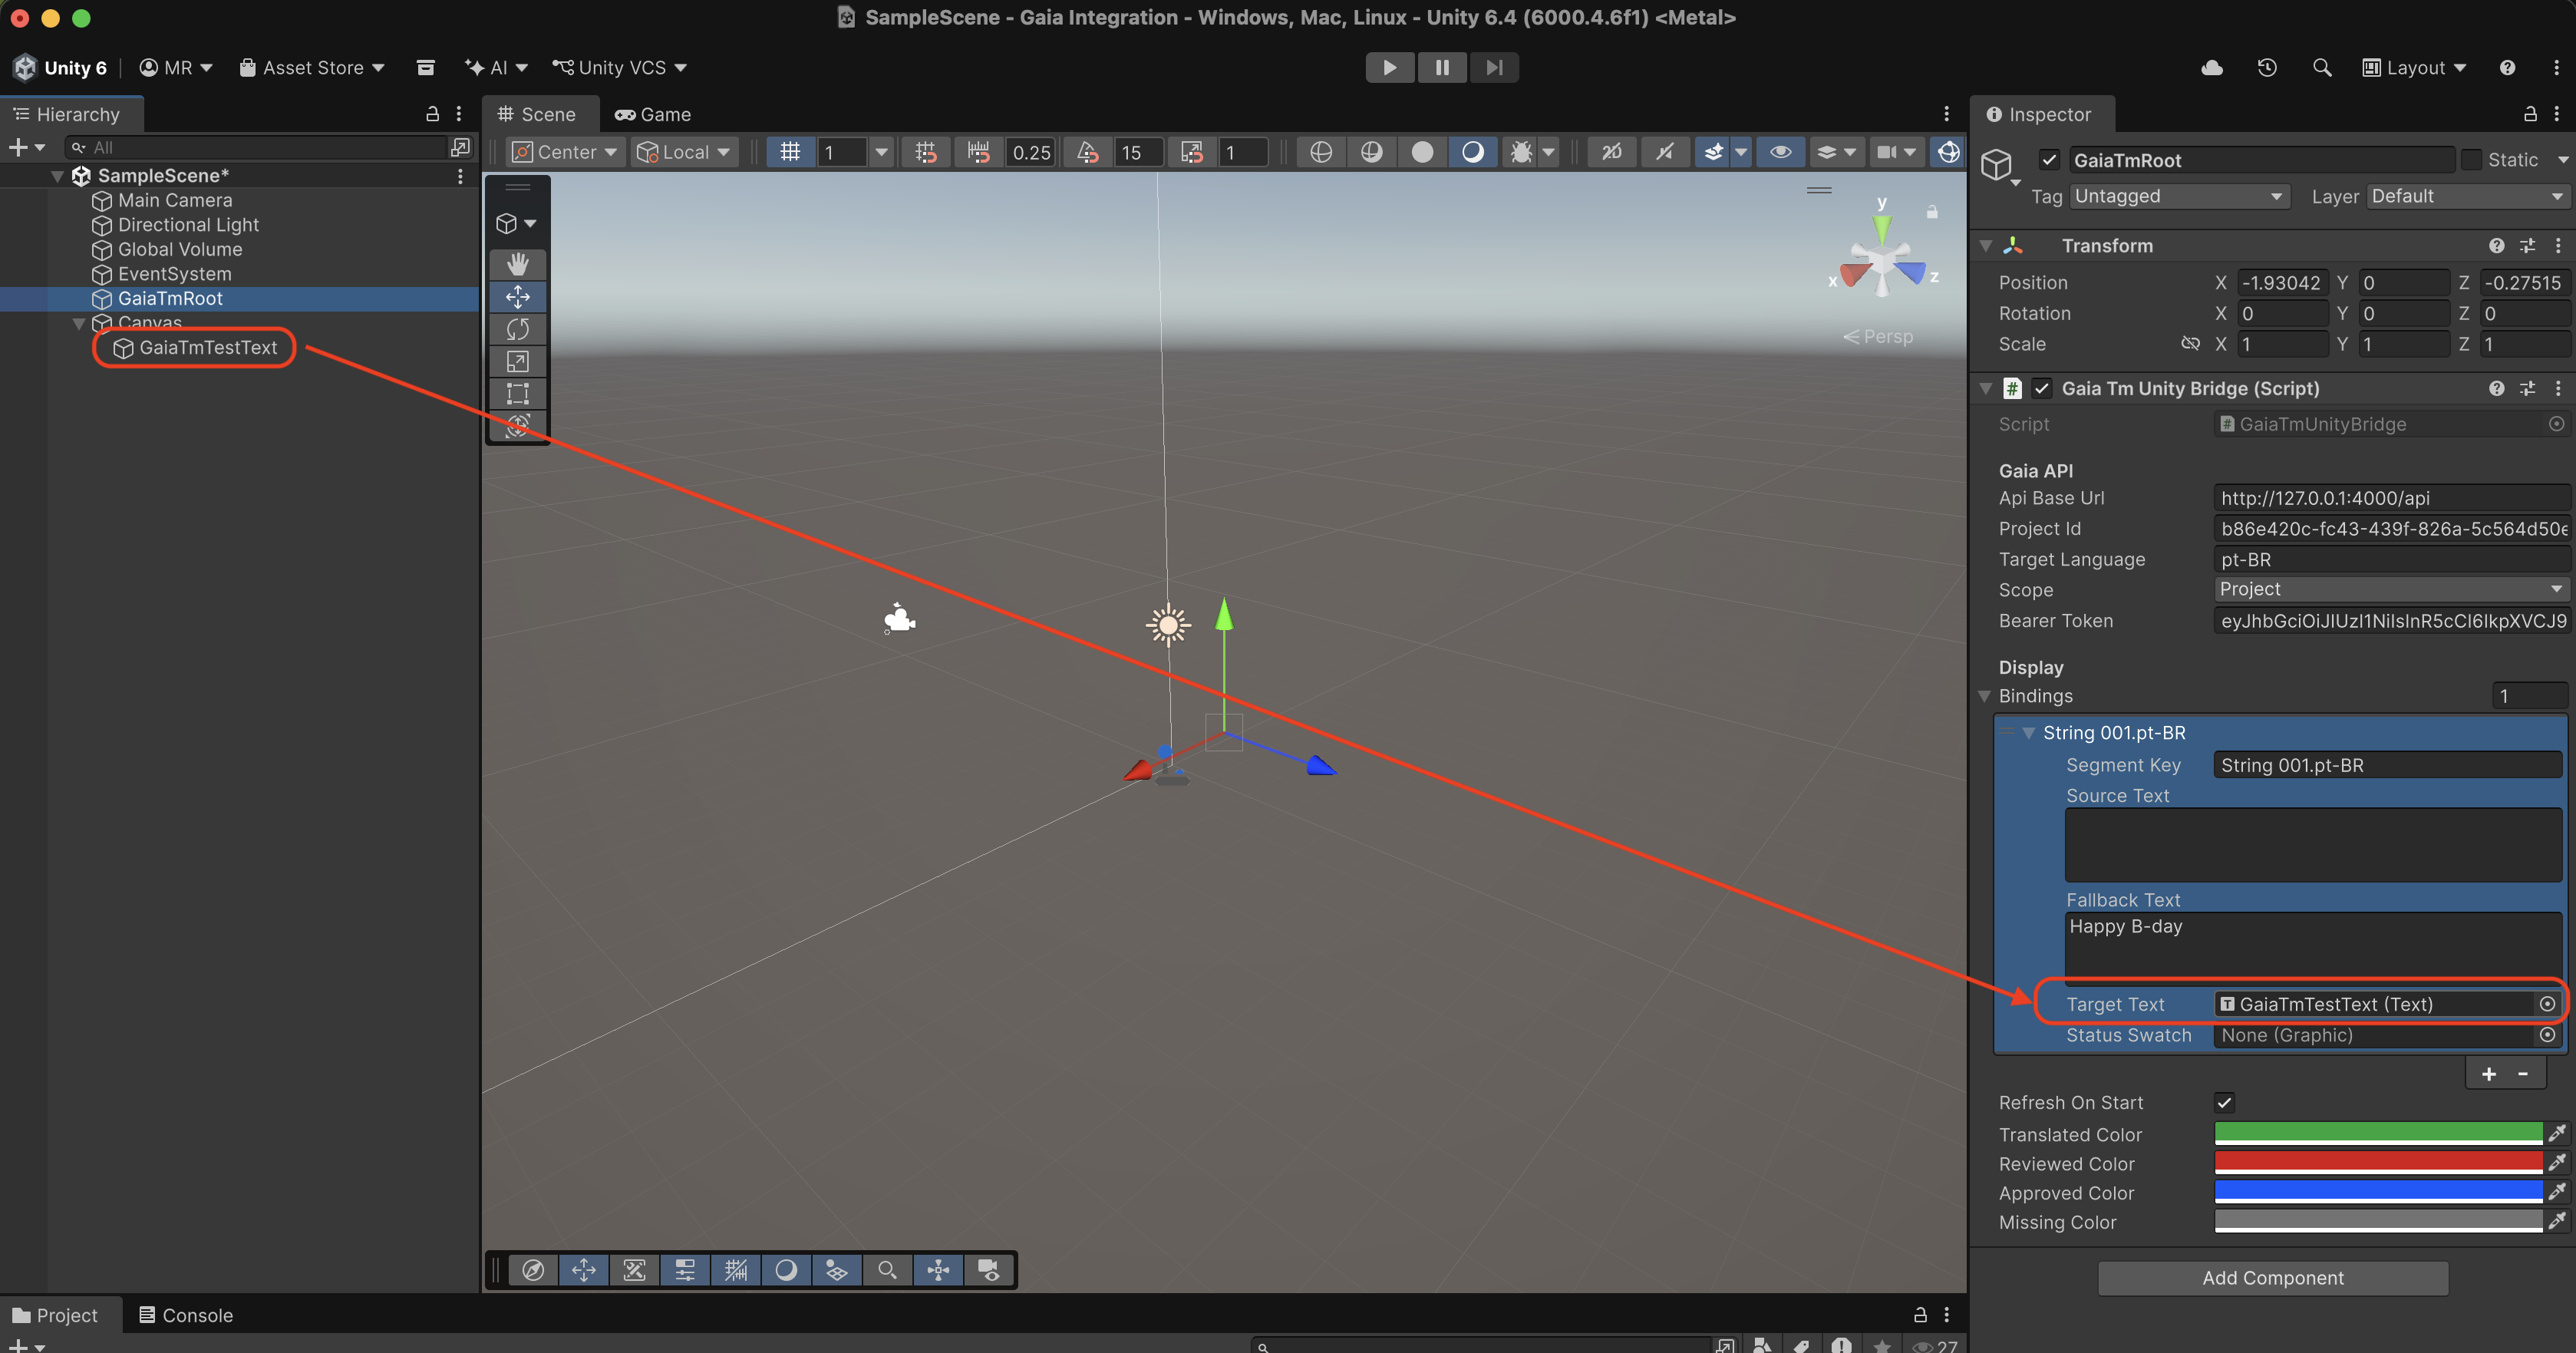
A binding tells the bridge which Gaia TM entry to find and which Unity UI Text component to update. Select
GaiaTmRoot, expand Bindings in the bridge component, and set Size to
1 for the first proof.
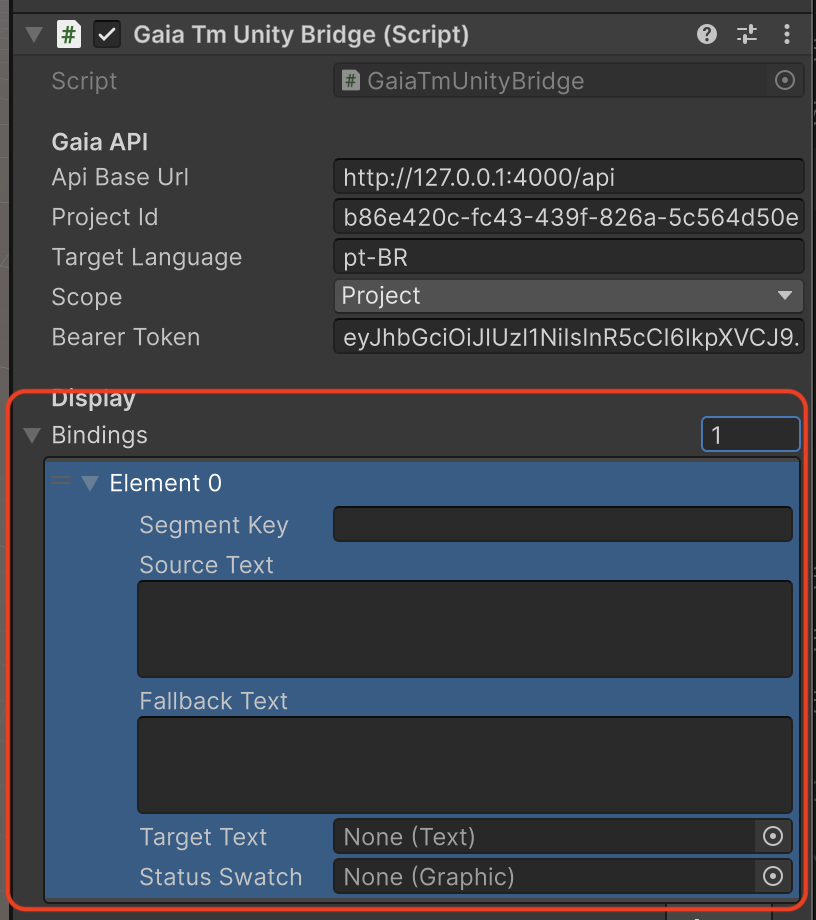
For Element 0, use a Segment Key when you know the Gaia segment key. This is the most stable lookup. If you do not know the key, leave Segment Key empty and paste the original source text into Source Text. Add a readable Fallback Text so the UI still shows useful copy if Gaia cannot match the row.
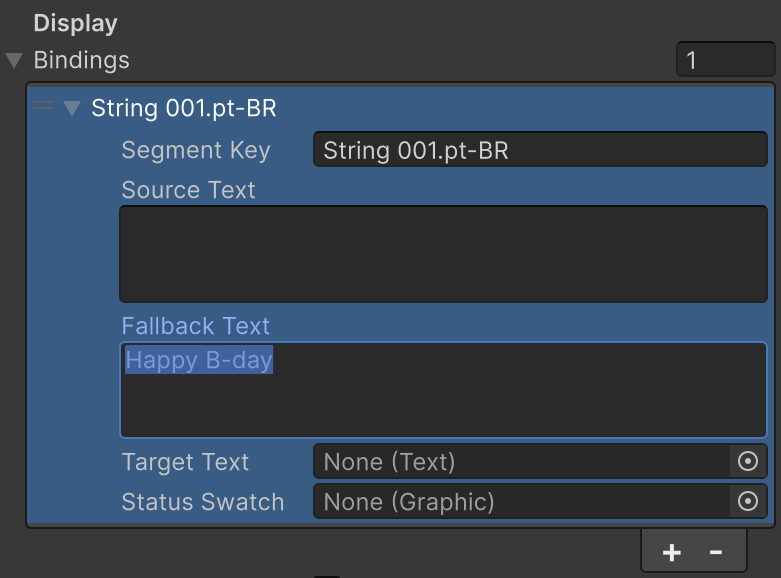
Drag the Unity UI label that should change into Target Text. Optionally drag a UI Image or another Graphic into Status Swatch if you want Gaia workflow color feedback. Leave the swatch empty for the first proof if you only want to validate the text.
If you do not already have a UI text label, create one with GameObject > UI > Legacy > Text or GameObject > UI > Text (Legacy), depending on your Unity version.
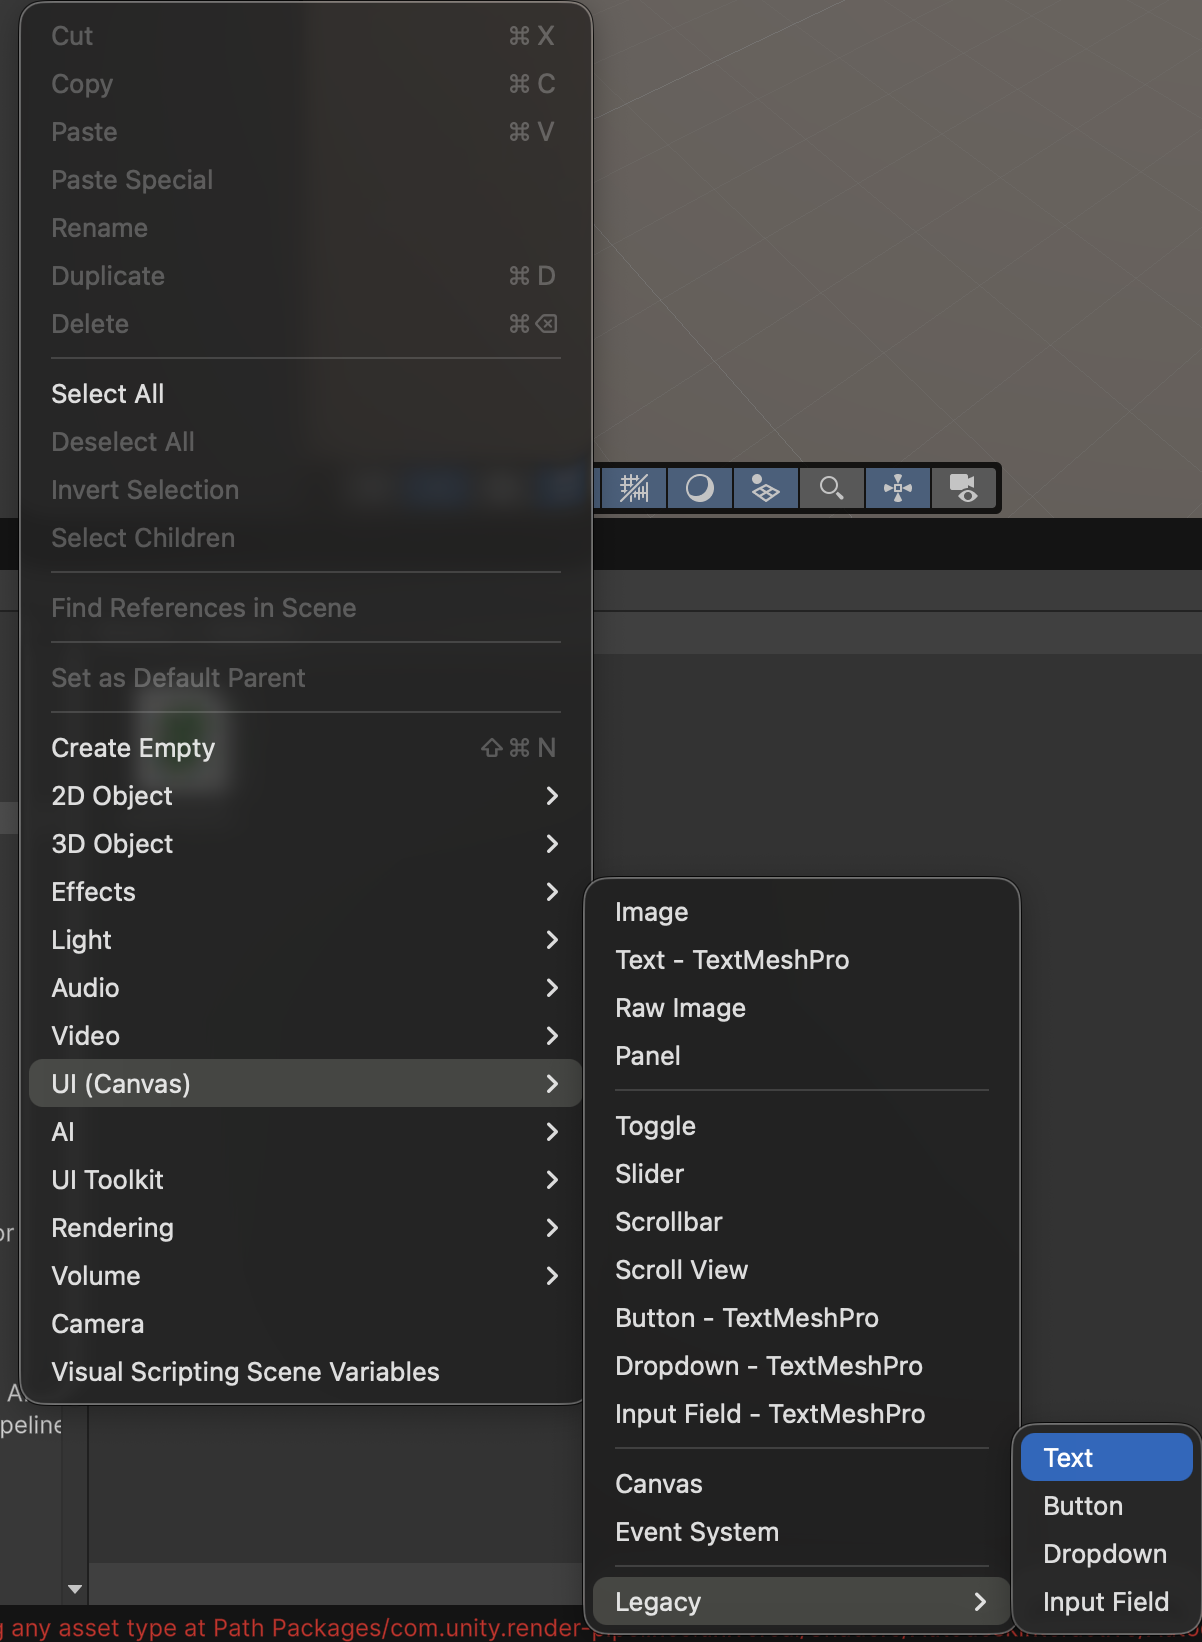
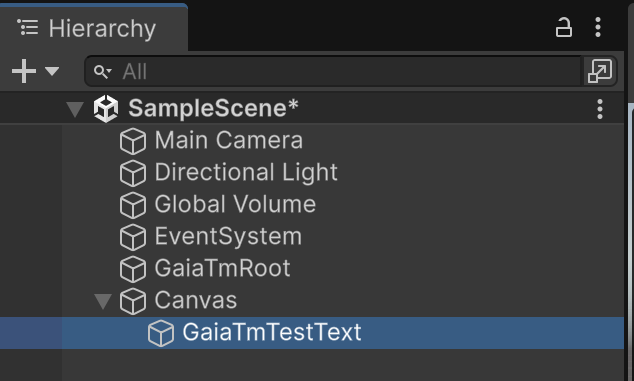
The current sample expects normal Unity UI Text. If you created a TextMeshPro label, use Legacy Text for this proof or ask a developer to adapt the script field to TextMeshProUGUI later.
Step 8: Enter Play mode
Before pressing Play, confirm GaiaTmRoot still has the values from Steps 4 to 7 and that
Refresh On Start is checked. It is enabled by default in the sample bridge. Then click
the triangle Play button in the Unity toolbar.
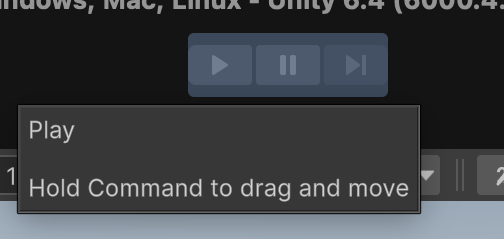
Unity now runs the scene. The bridge calls Gaia, reads the TM response, caches the JSON under
Application.persistentDataPath, and applies the binding to the UI text object you assigned.
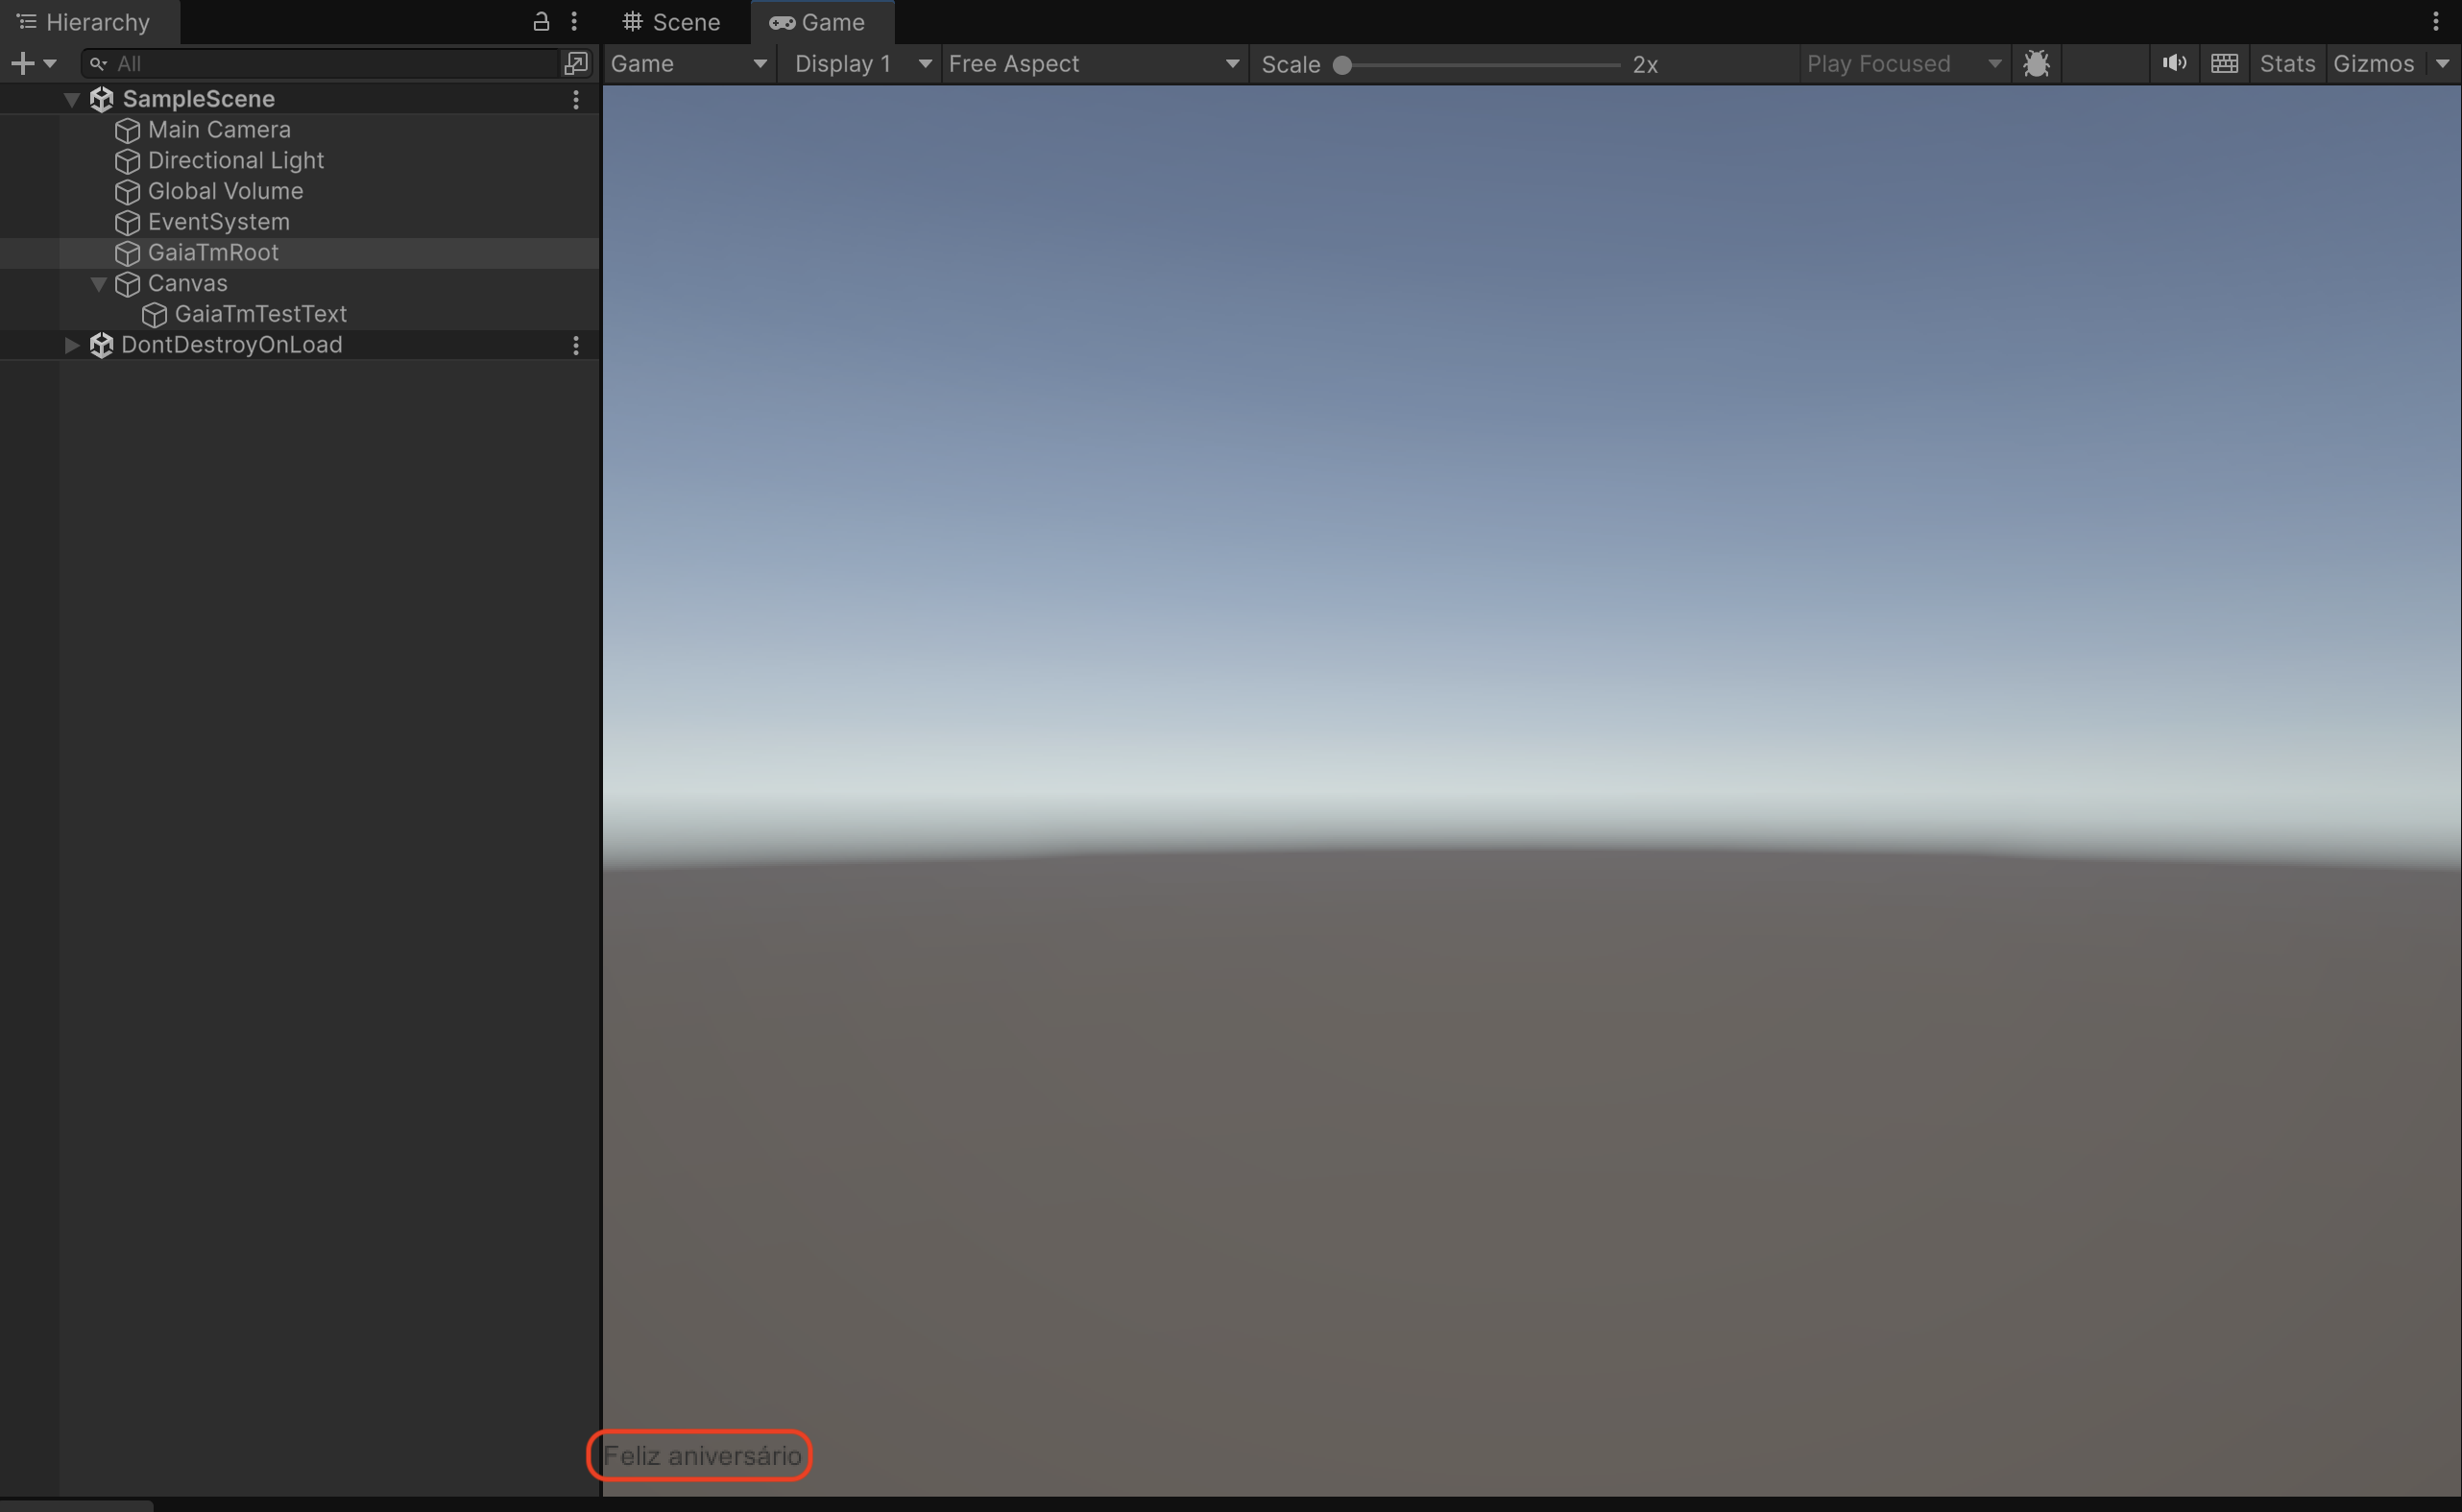
If you assigned a Status Swatch, its color should update at the same time. If you left it empty, the text update is enough for the first validation proof.
Step 9: Confirm success in the Game view
The setup is working when target strings in Unity match Gaia TM for this project and target language,
status swatch colors reflect Gaia workflow states when those fields are wired, and the Unity Console shows
no blocking exceptions from GaiaTmUnityBridge during RefreshAsync.
If nothing updates, check the Console first. A skipped refresh usually means the API base URL, project ID, or target language is empty in the Inspector. HTTP 401 points to a missing, wrong, or expired bearer token. HTTP 0 usually means Unity cannot reach the API base URL. HTTP 404 usually means the project ID is wrong or the Gaia user cannot access the project.
Step 10: Close the required setup
Stop here for localization validation sign-off. At this point, the bridge has proved that Unity can fetch Gaia Translation Memory, cache the result, apply the binding, and update the Game view text. That is the required Unity setup proof.
Production runtime is a separate engineering decision. Do not embed privileged Gaia bearer tokens in public builds. For player-facing releases, use a short-lived read-only token service, a deployment proxy, or generated localization bundles.
Watch the full Unity Engine TM bridge demonstration below.
Unity Engine integration in Gaia
This gallery walkthrough shows the Unity Engine TM bridge: loading Gaia Translation Memory into the Unity Editor, wiring UI text and workflow swatches to live TM rows, and validating localized strings in Play mode before release packaging.