Gaia 3.0 adds a direct Unreal Engine path for teams that want to validate localized strings in the game context while keeping Gaia as the source of translation memory. This tutorial follows the setup page in Gaia and shows the required path for proving that Unreal can authenticate with Gaia, load the selected project’s Translation Memory, read the target language, and display workflow-colored messages in Play mode.
The walkthrough below uses the project values shown by Gaia for Healthy Gamer - Chapter 8, translating from English (United States) to Arabic (Saudi Arabia). Your own project will use the same fields with your own project ID, target language, and local bearer token.
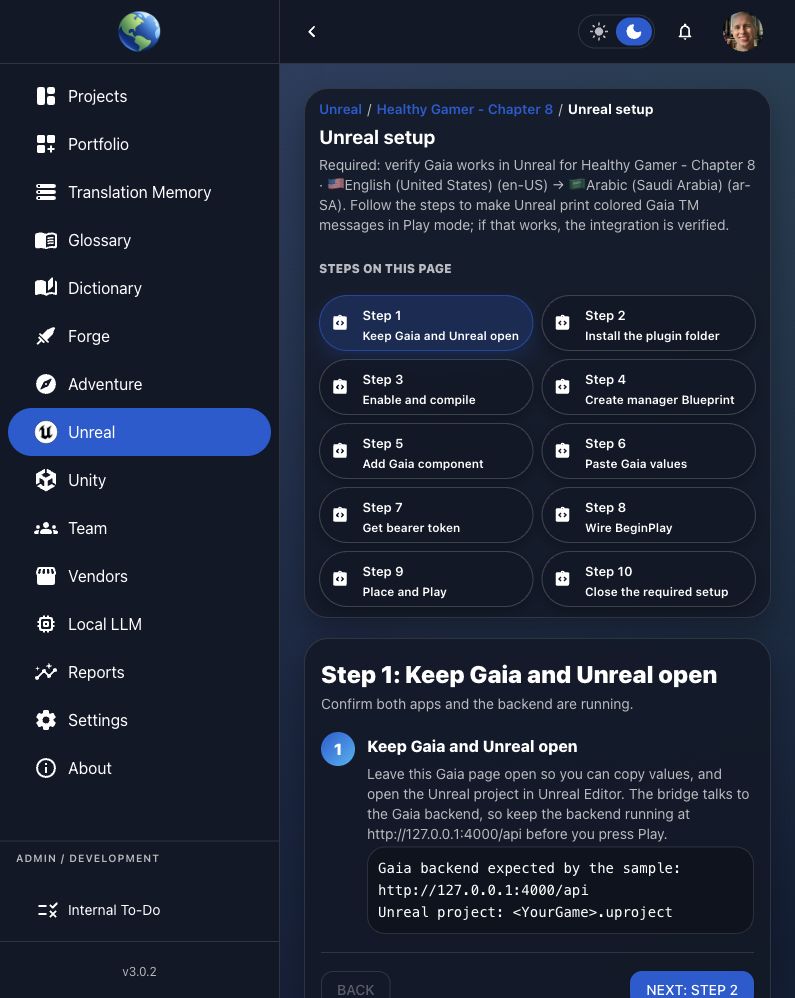
Step 1: Keep Gaia and Unreal open
Start by keeping this Gaia page open in the browser and opening your Unreal project in Unreal Editor. The
sample bridge talks to the Gaia backend, so the backend should be running at
http://127.0.0.1:4000/api before you press Play in Unreal.
- Gaia backend expected by the sample:
http://127.0.0.1:4000/api - Unreal project:
<YourGame>.uproject
Step 2: Install the plugin folder
Create a Plugins folder beside your .uproject file if it does not exist. Then
copy the complete Gaia sample plugin folder into a folder named GaiaTmRuntimeBridge and
reopen the Unreal project.
Do not copy only the .uplugin file. Unreal also needs the source folder and build file.
- Gaia repo source:
docs/integrations/unreal/ - Unreal destination:
<YourGame>/Plugins/GaiaTmRuntimeBridge/ - Expected plugin file:
<YourGame>/Plugins/GaiaTmRuntimeBridge/GaiaTmRuntimeBridge.uplugin - Expected build file:
<YourGame>/Plugins/GaiaTmRuntimeBridge/Source/GaiaTmRuntimeBridge/GaiaTmRuntimeBridge.Build.cs
Step 3: Enable and compile
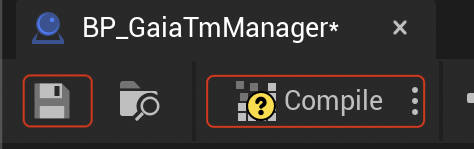
In Unreal Editor, open Edit → Plugins, search for Gaia, and enable Gaia TM Runtime Bridge if it is disabled. Restart Unreal Editor after enabling it. If Unreal says modules need to be rebuilt, click Yes.

A Blueprint-only project can still contain a native C++ plugin. GaiaTmRuntimeBridge is a C++ plugin, so
Unreal must compile a platform binary for it, such as
UnrealEditor-GaiaTmRuntimeBridge.dylib on macOS. If that binary is missing or older than the
engine or plugin source, Unreal asks for an external build before the editor can open normally.
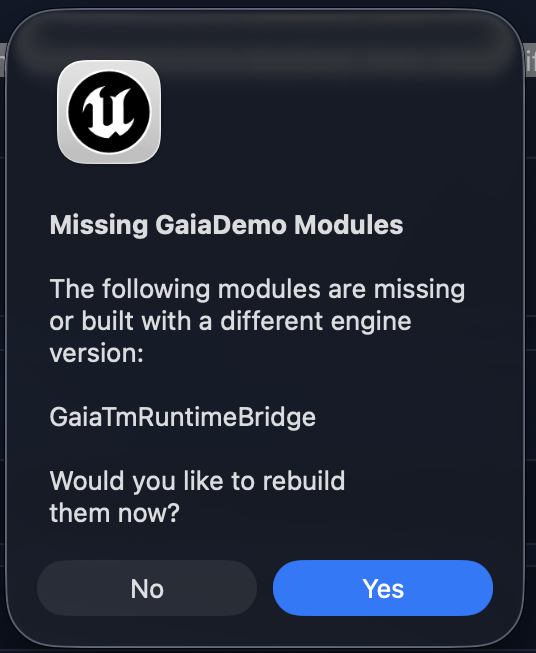
If Unreal says engine modules are out of date and cannot be compiled while the engine is running, close
Unreal Editor completely and build the project from the command line or through your IDE. Use the Editor
target for your project, usually <ProjectName>Editor, with the
Development Editor configuration.
Step 4: Create manager Blueprint
Open the Content Drawer or Content Browser. The Gaia runtime bridge needs an Actor Blueprint that can own the Gaia component and run the fetch when Play starts.
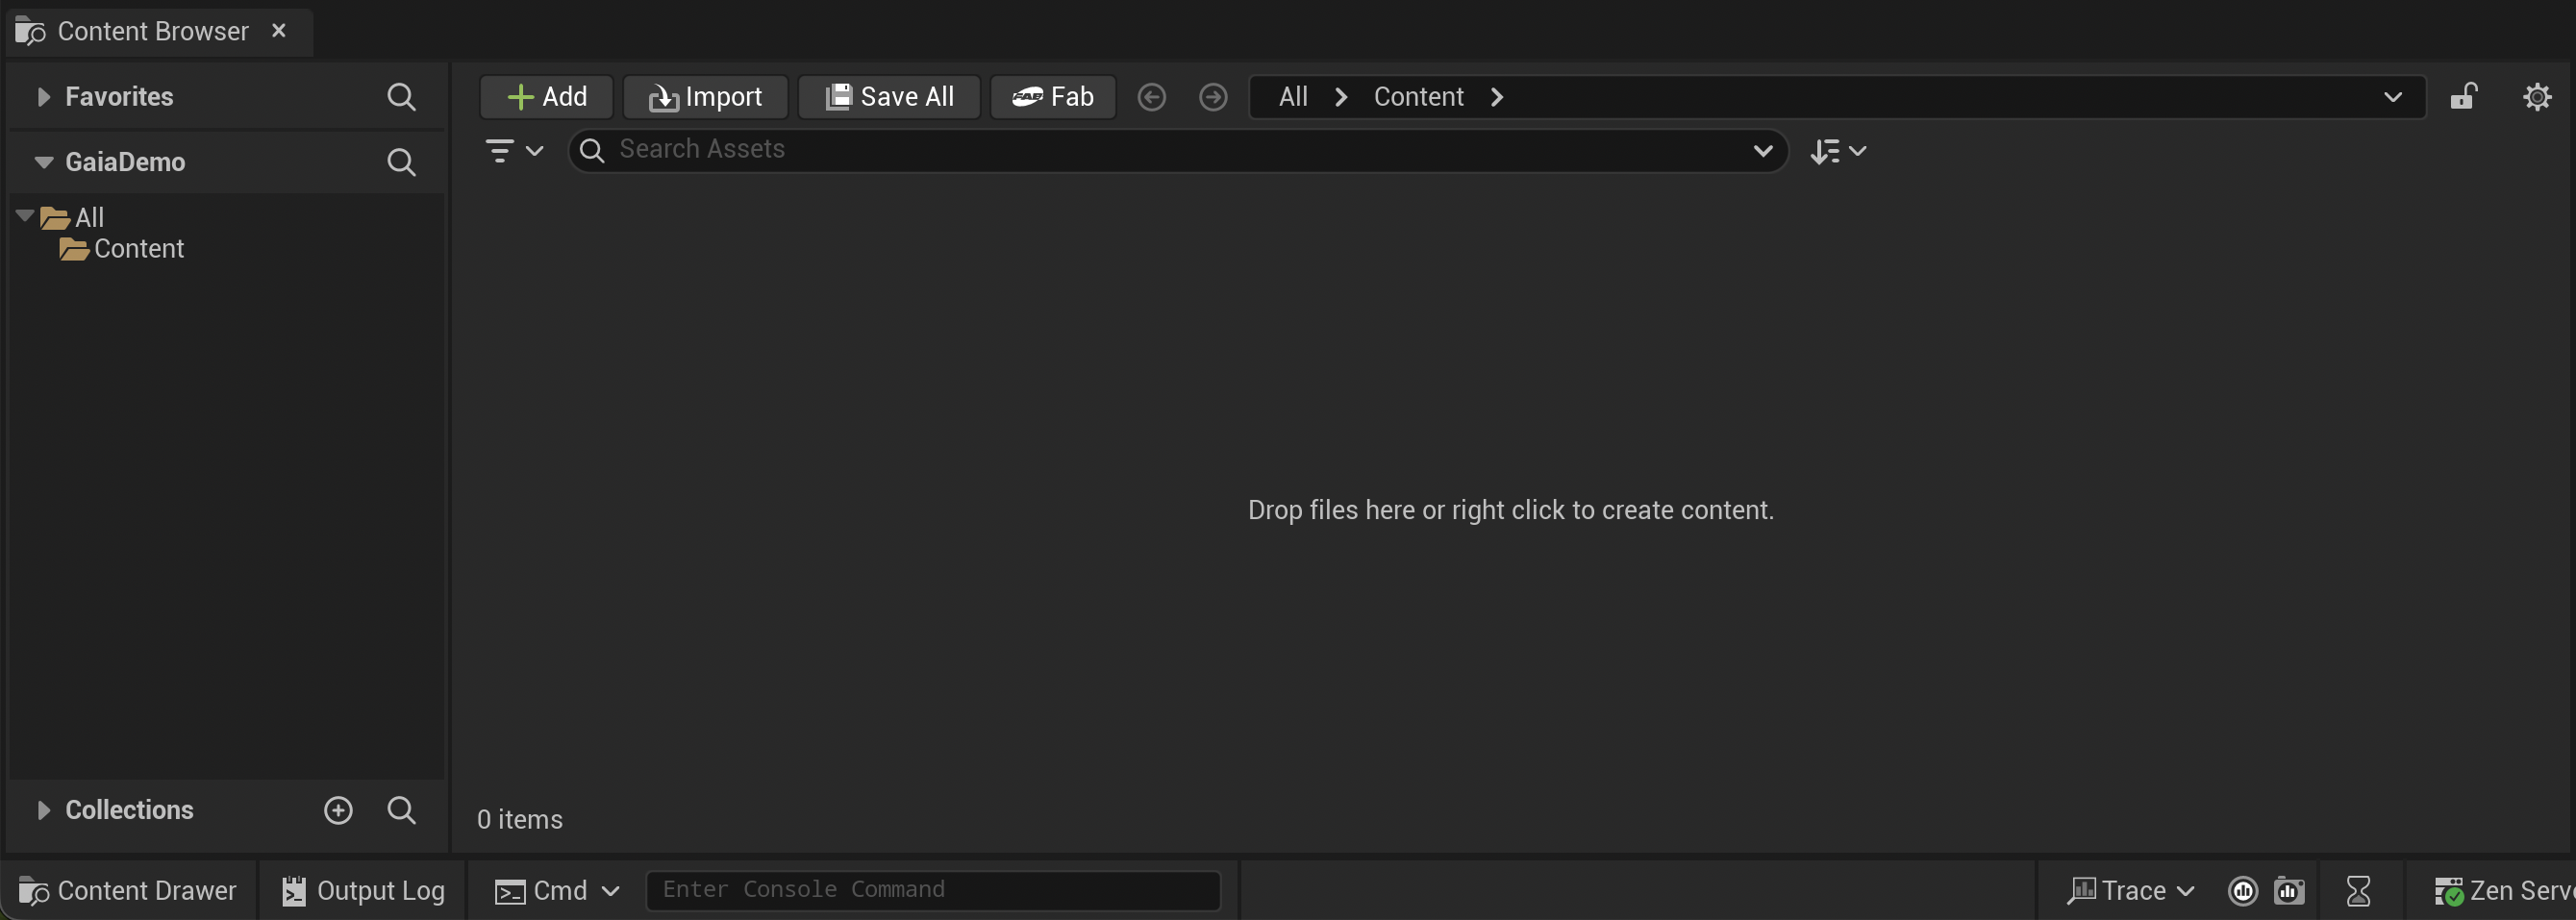
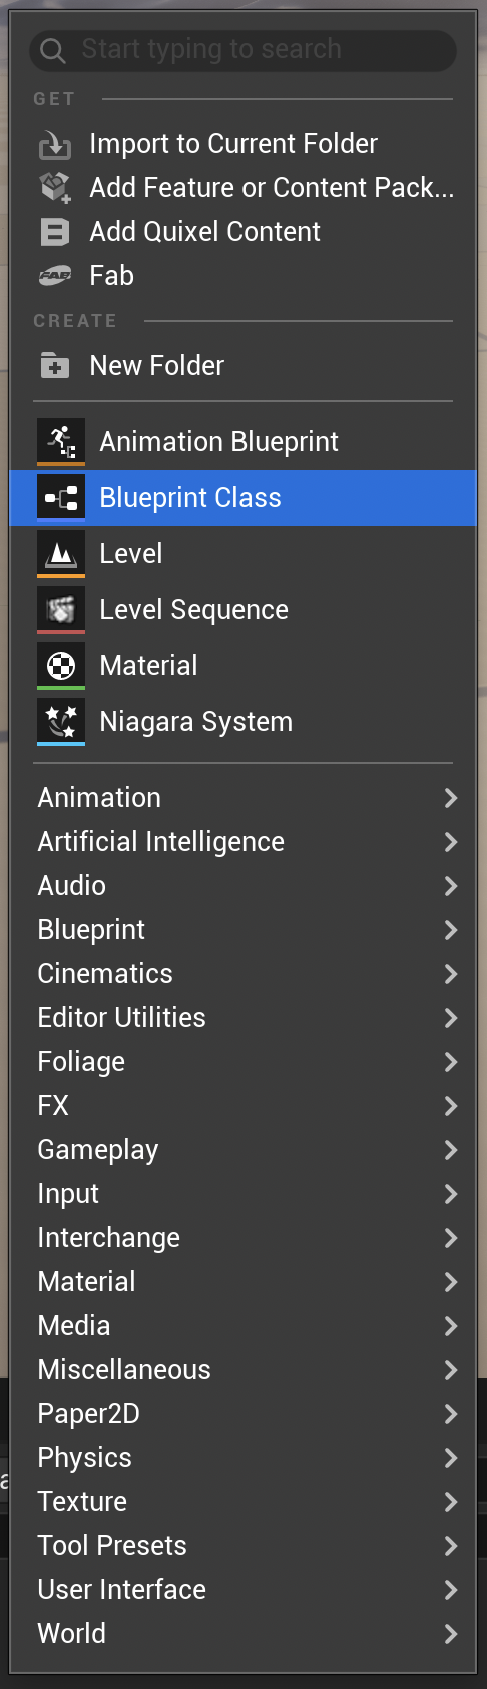
Right-click inside your game content folder, choose Blueprint Class, then choose Actor as the parent class.
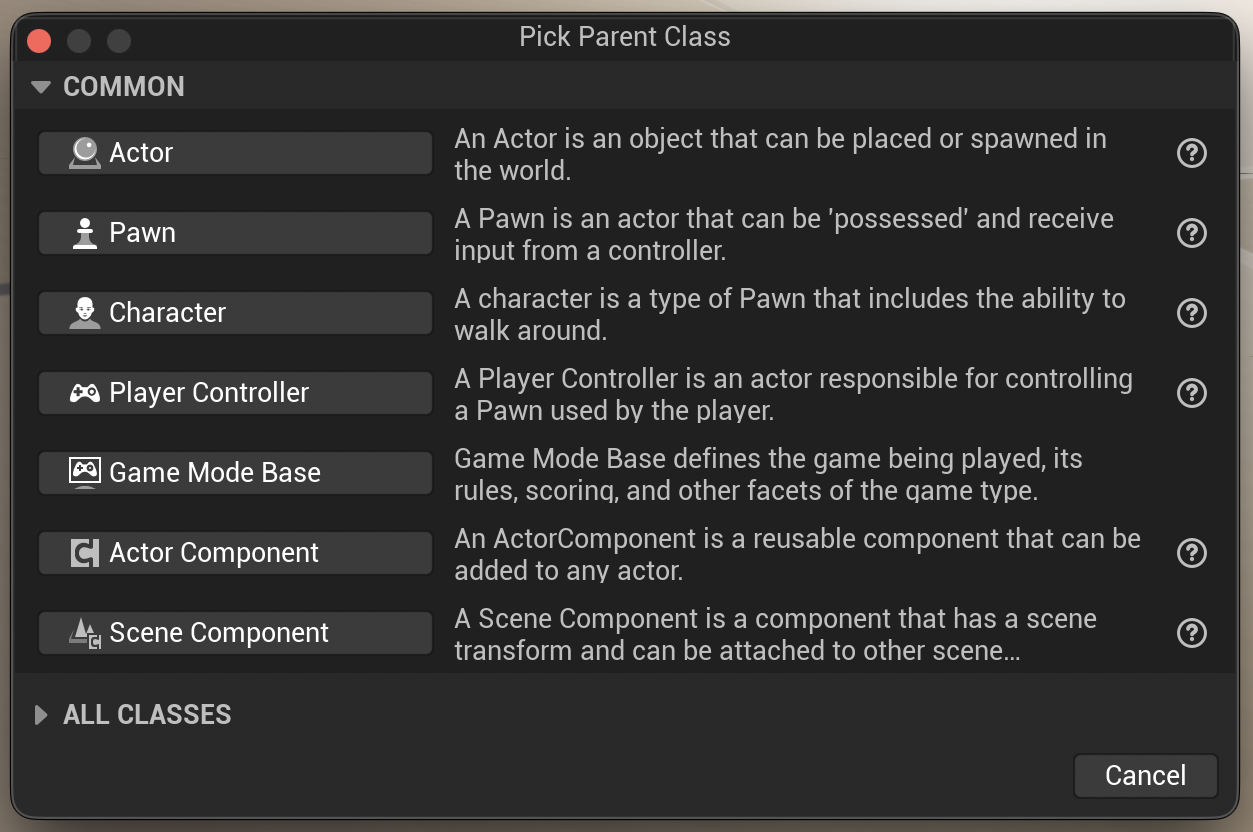
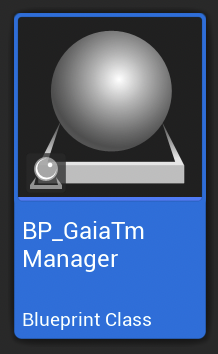
Name the new Blueprint BP_GaiaTmManager, then double-click it to open the Blueprint editor.
Step 5: Add Gaia component
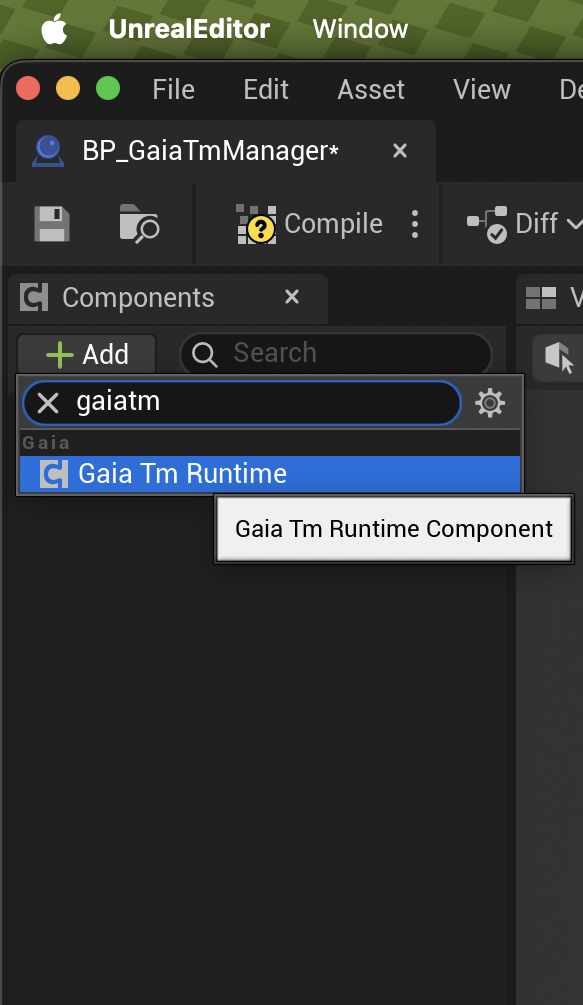
Inside BP_GaiaTmManager, use the Components panel on the left. Click Add, search for
Gaia TM Runtime Component, and add it.
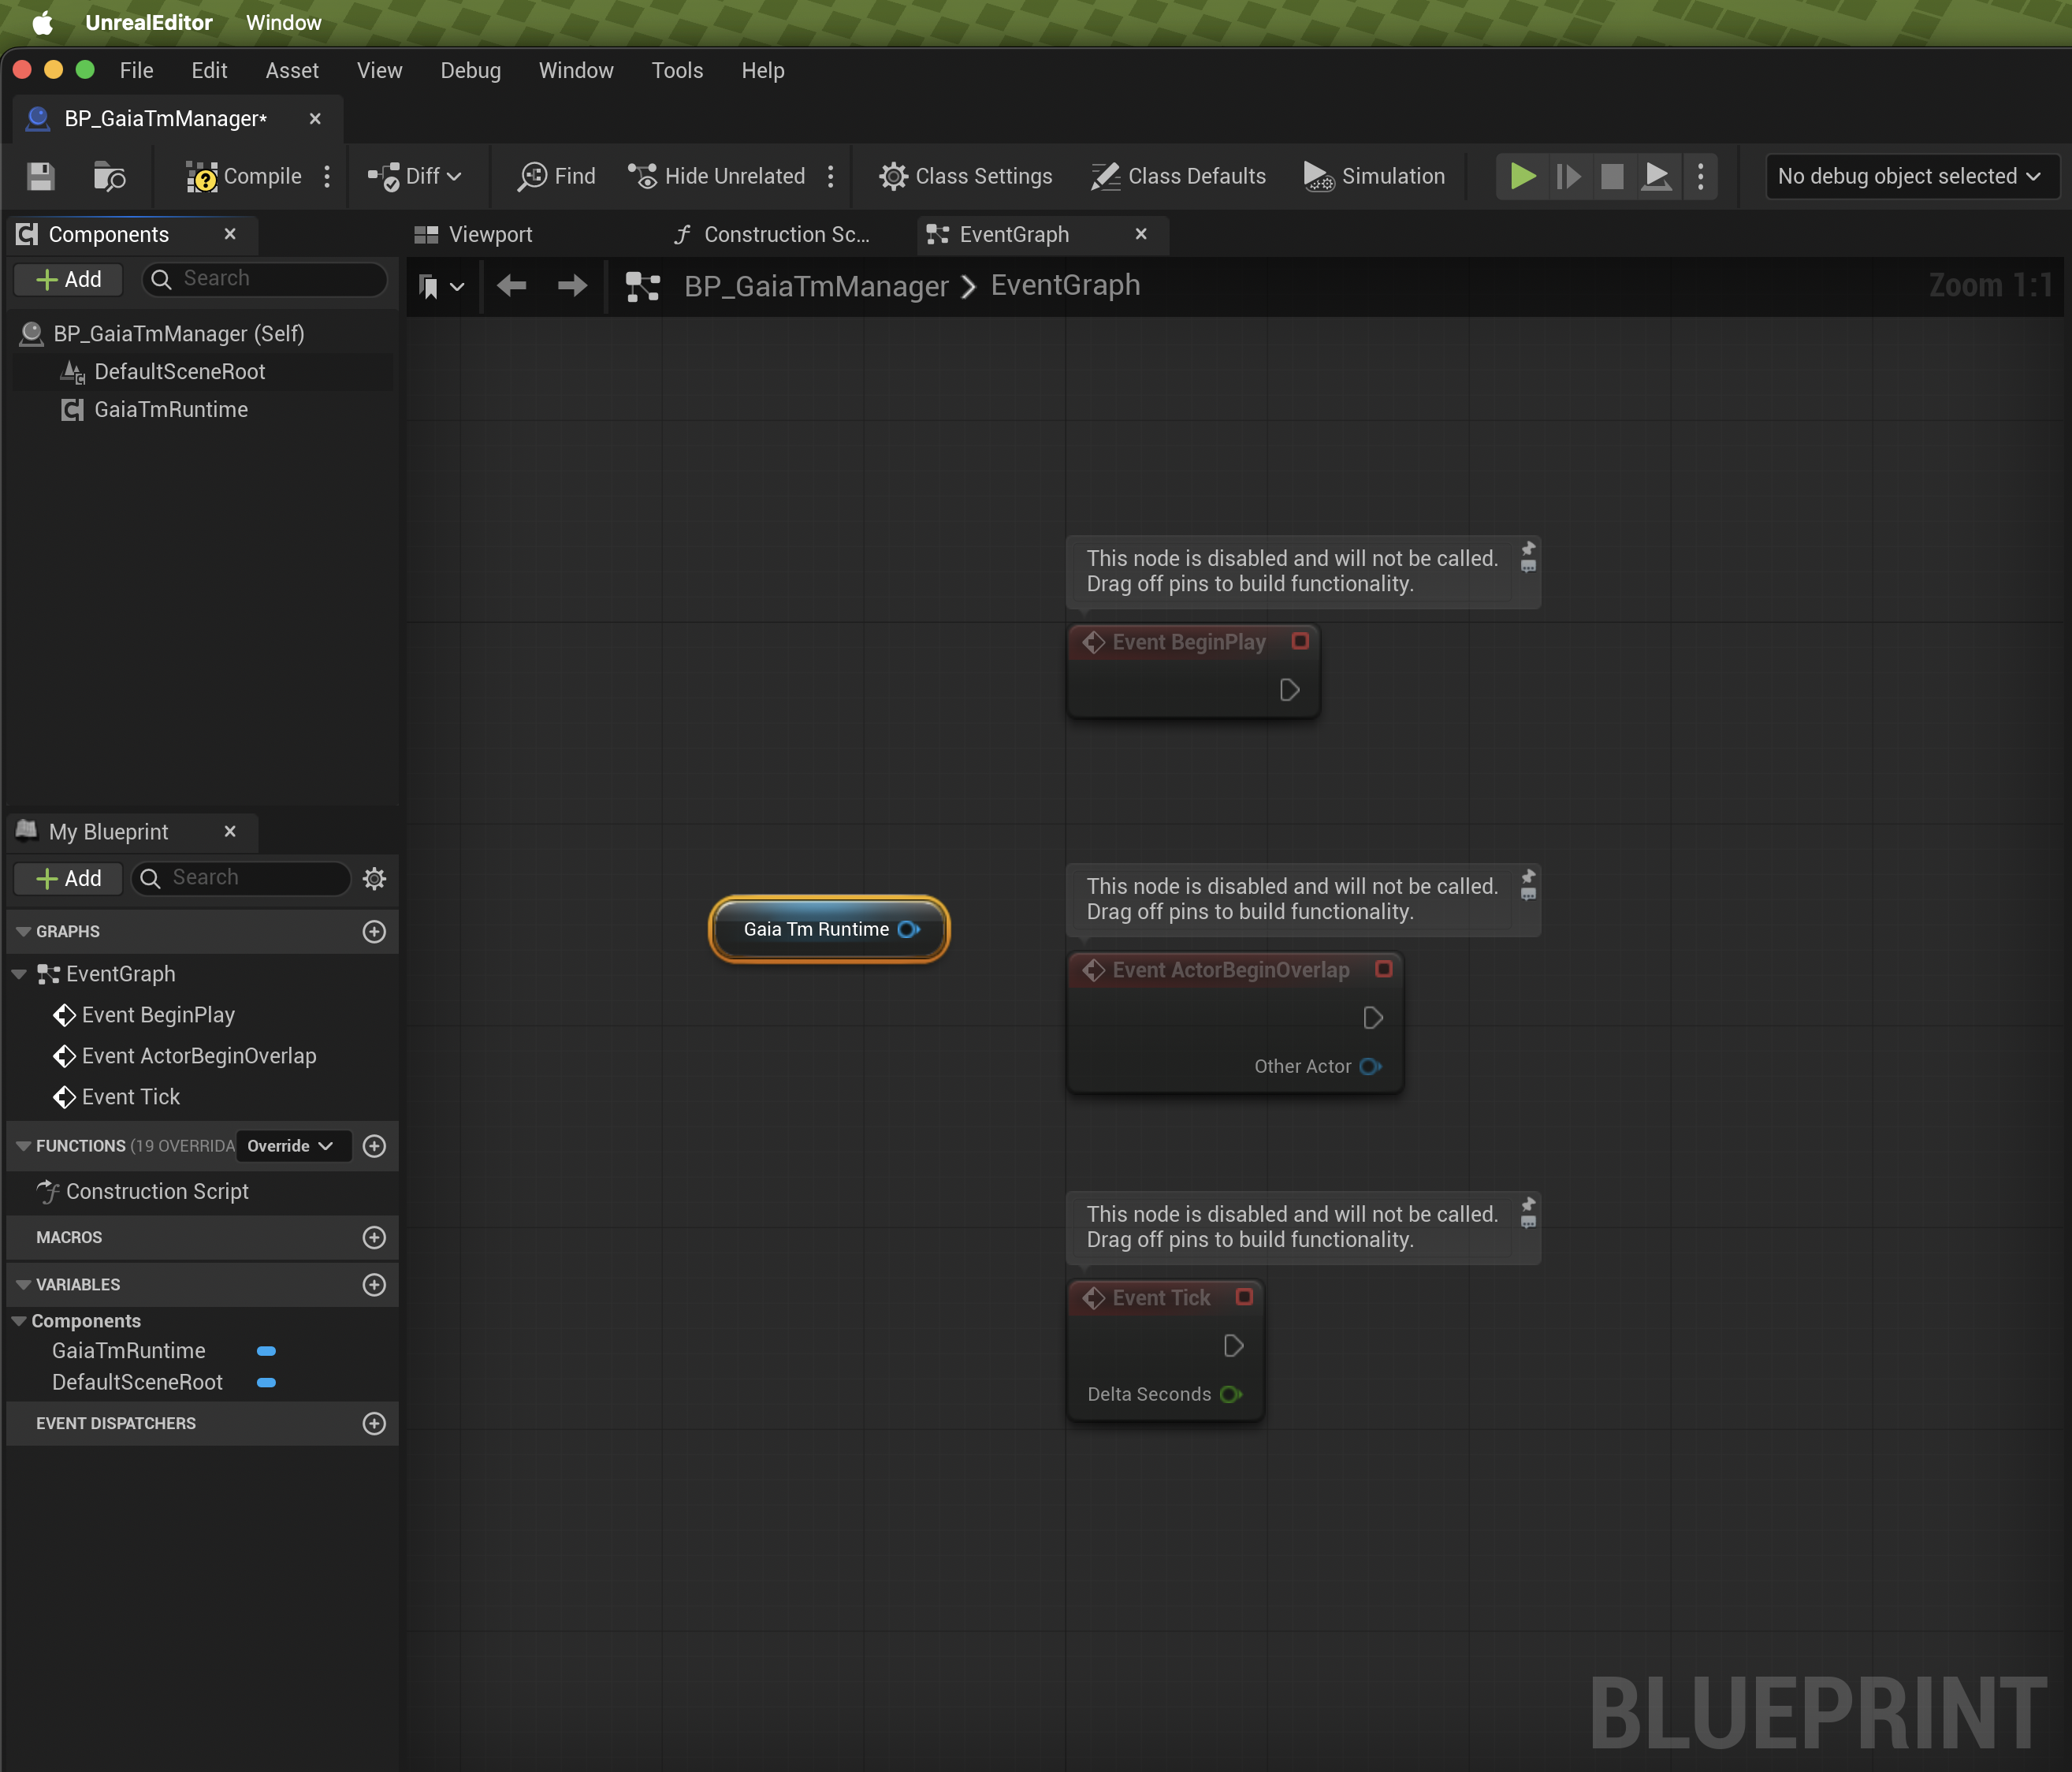
Click the EventGraph tab in the main Blueprint window, then drag GaiaTmRuntime from the
Components panel into the graph. This gives you a component reference node for the fetch step.
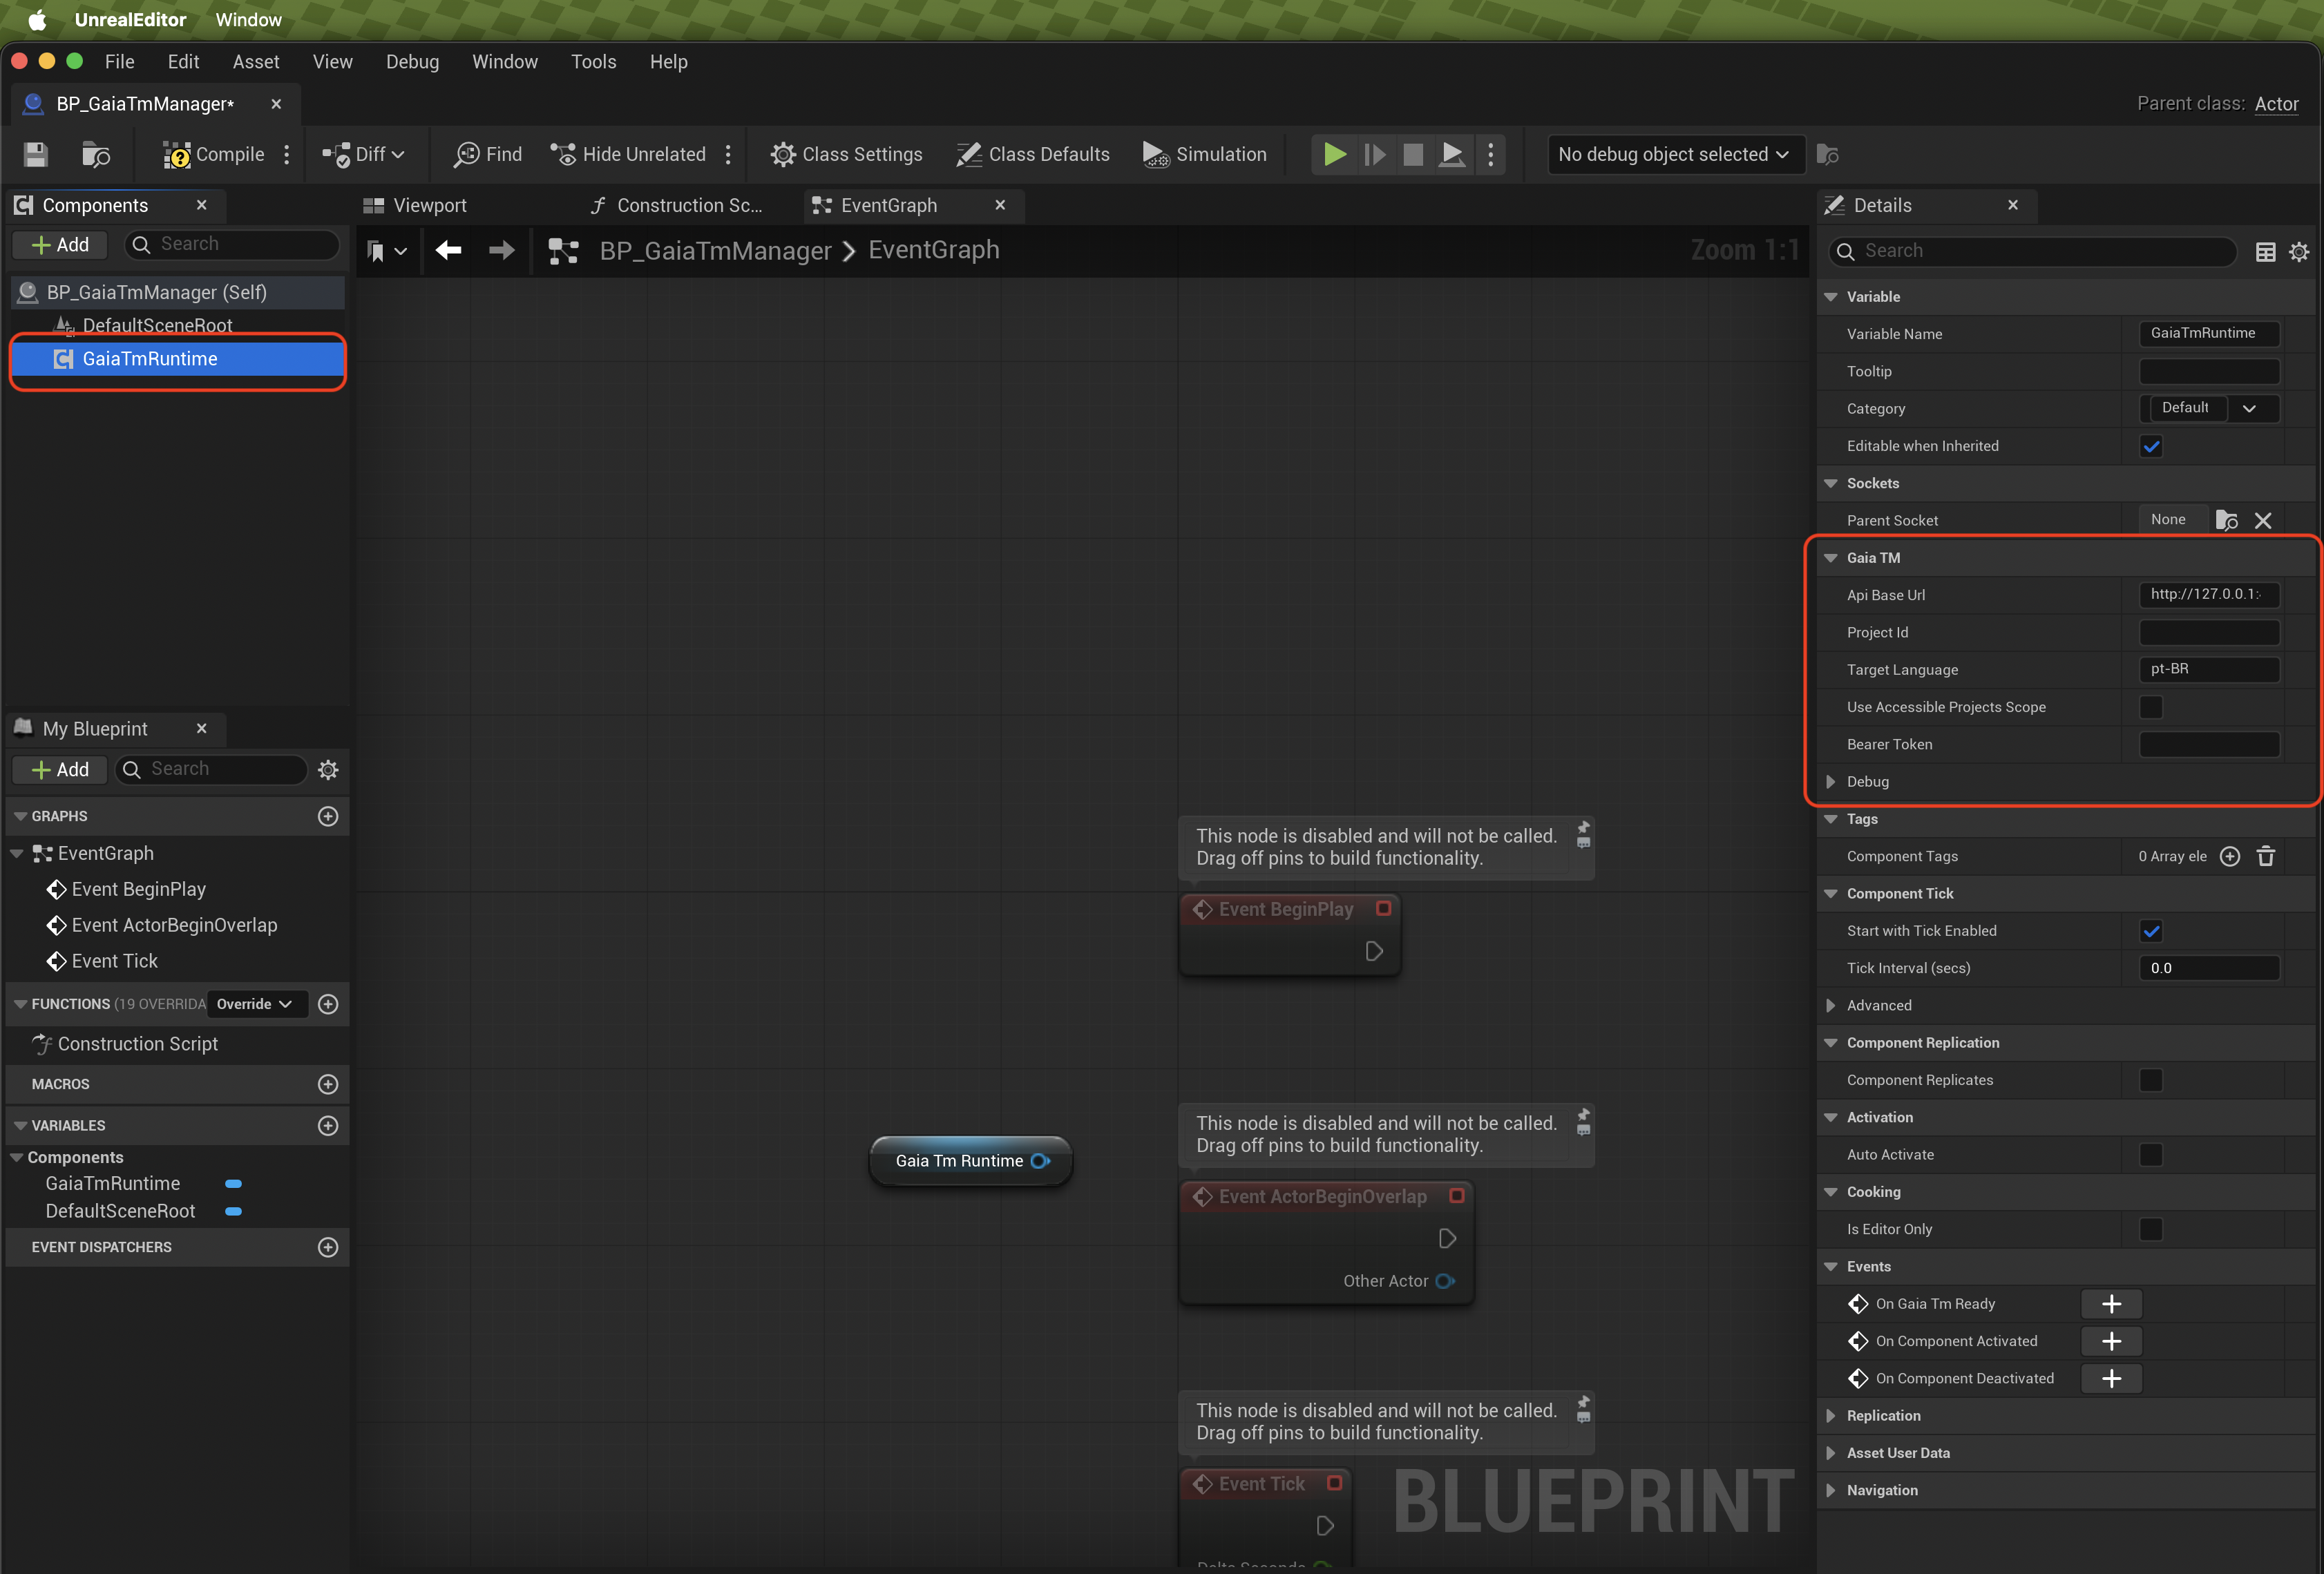
Select the new component in the Components panel, not the Blueprint event graph. Its Details panel should show a Gaia TM section on the right side.
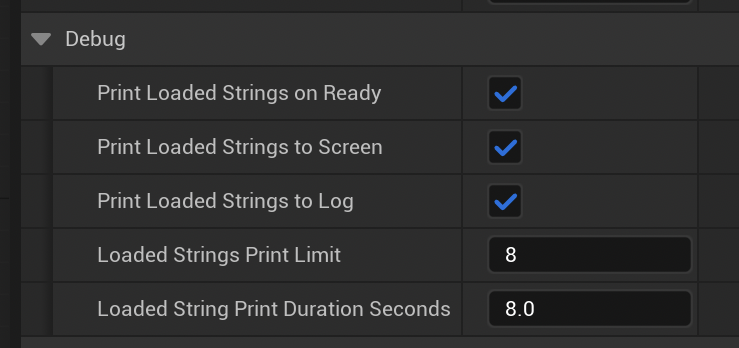
While testing, open Debug in the Details panel and enable Print Loaded Strings On Ready, Print Loaded Strings To Screen, and Print Loaded Strings To Log.
Step 6: Paste Gaia values
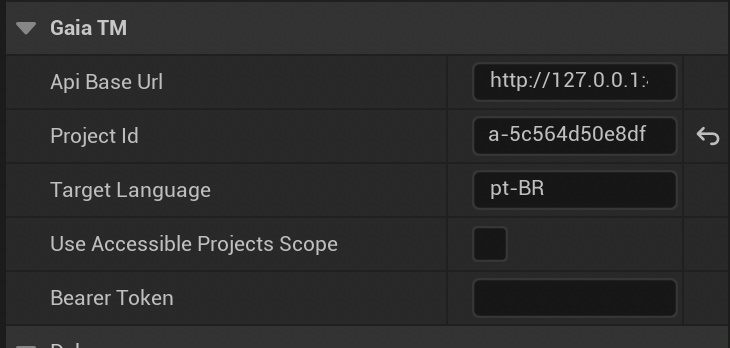
With the Gaia component selected, paste the API base URL, project ID, and target language into the Gaia TM section of the Details panel. Paste the bearer token in the next step.
ApiBaseUrl = http://127.0.0.1:4000/apiProjectId = 592c0d19-002c-43f8-8b74-f1529dbff368TargetLanguage = ar-SA
Step 7: Get bearer token
For a quick local editor test, copy the token from your current Gaia browser session and paste only the
token value into Unreal’s BearerToken field. Do not paste the words
Authorization or Bearer.

In Gaia’s setup page, the Copy local bearer token button reads the signed-in browser
session. If clipboard access is blocked, the fallback browser console command is
localStorage.getItem("gaia.authToken").
Step 8: Wire BeginPlay
Open the Blueprint Event Graph. Add Event BeginPlay if it is not already there. Use the
GaiaTmRuntime reference node you placed in the graph in Step 5. If it is missing, drag
GaiaTmRuntime from the Components panel into the graph and choose Get if Unreal asks.
Drag from the component pin, search for Fetch Translation Memory, and add that node.
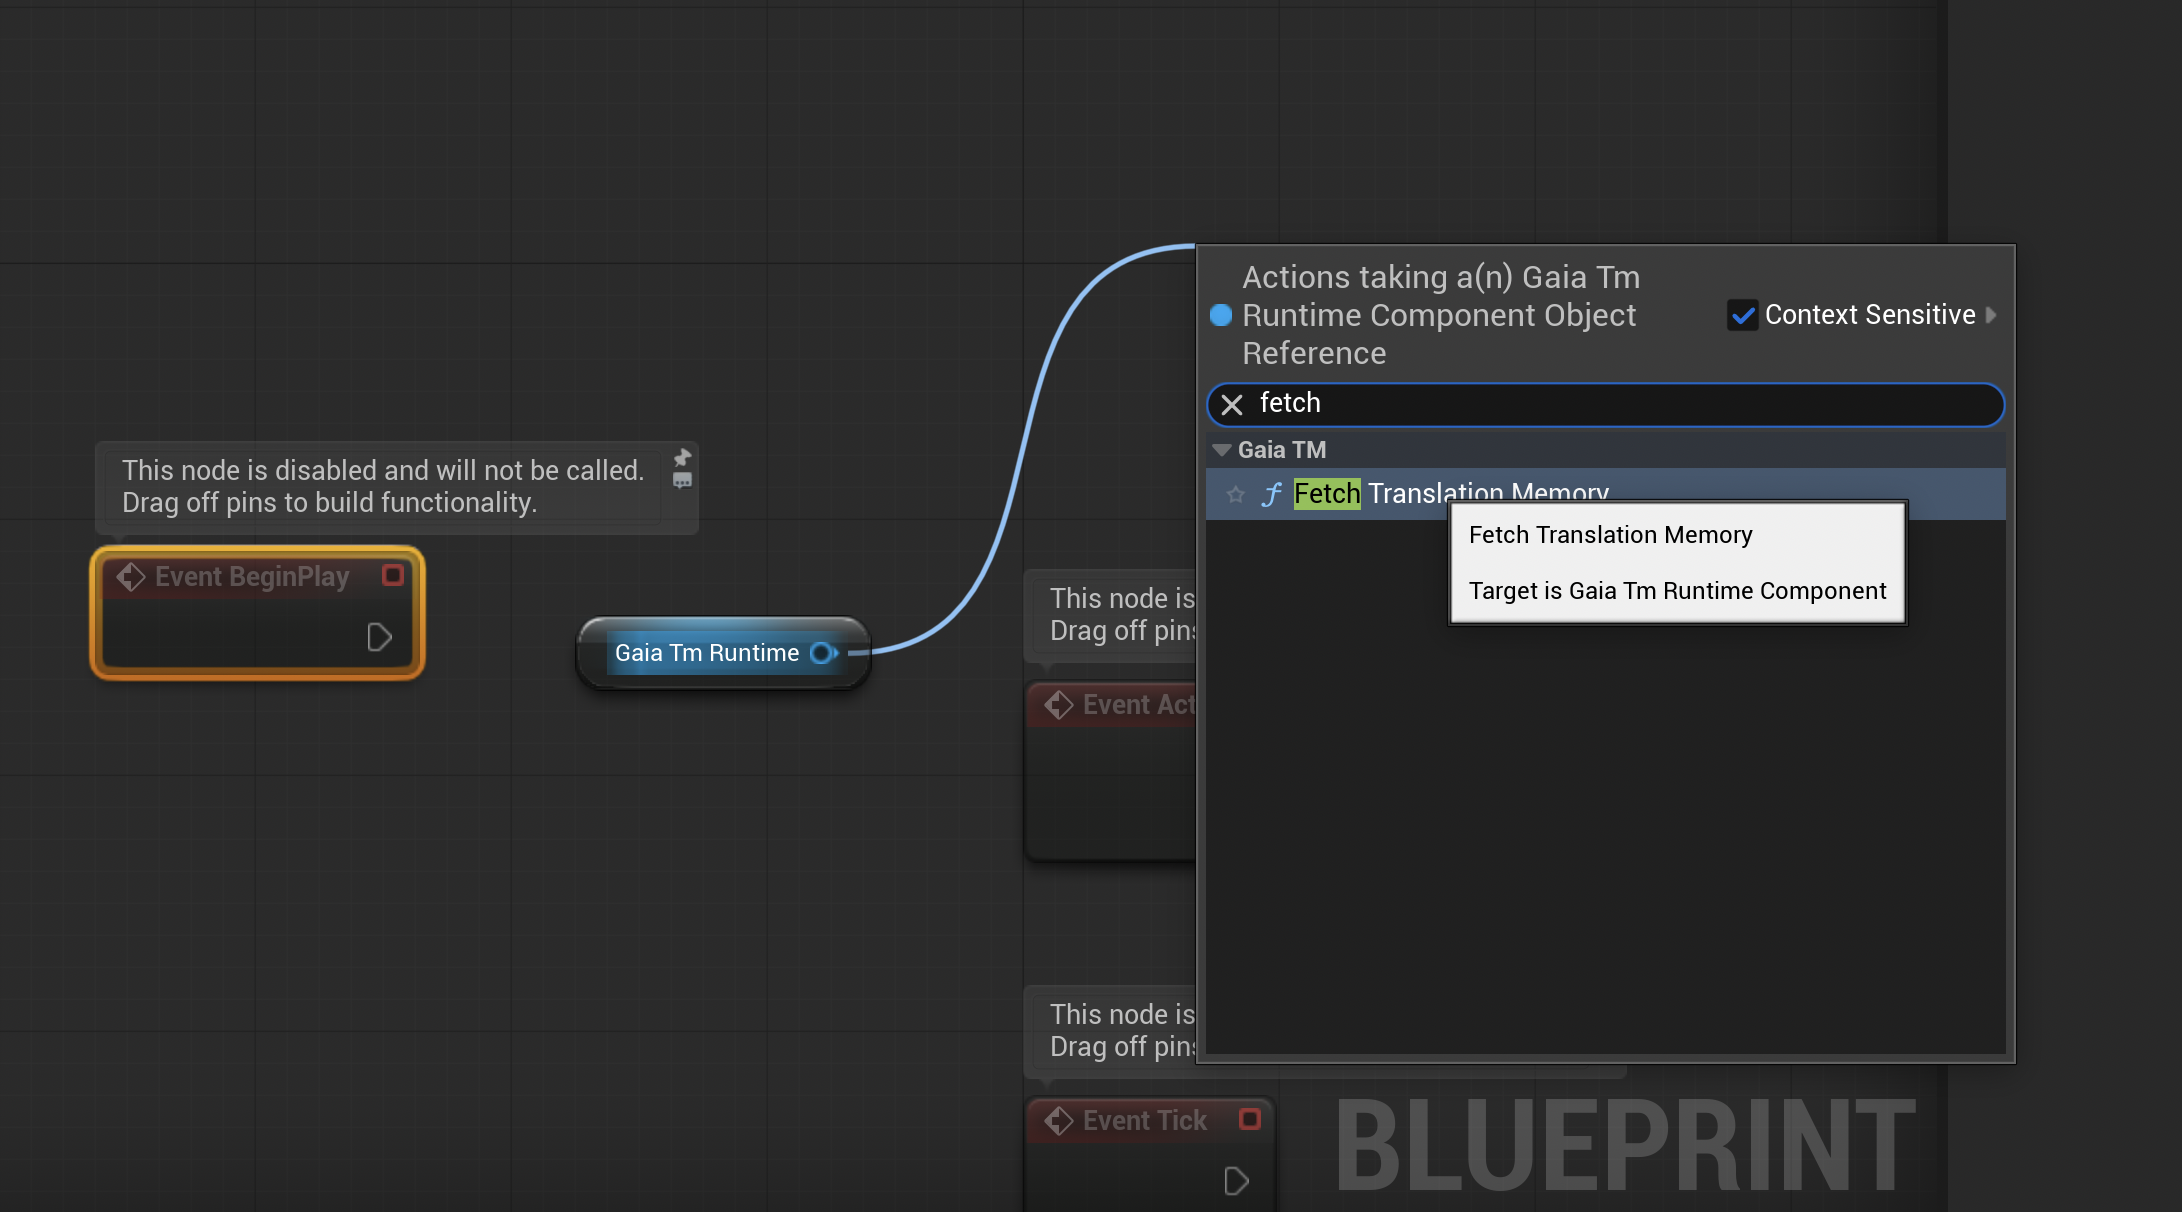
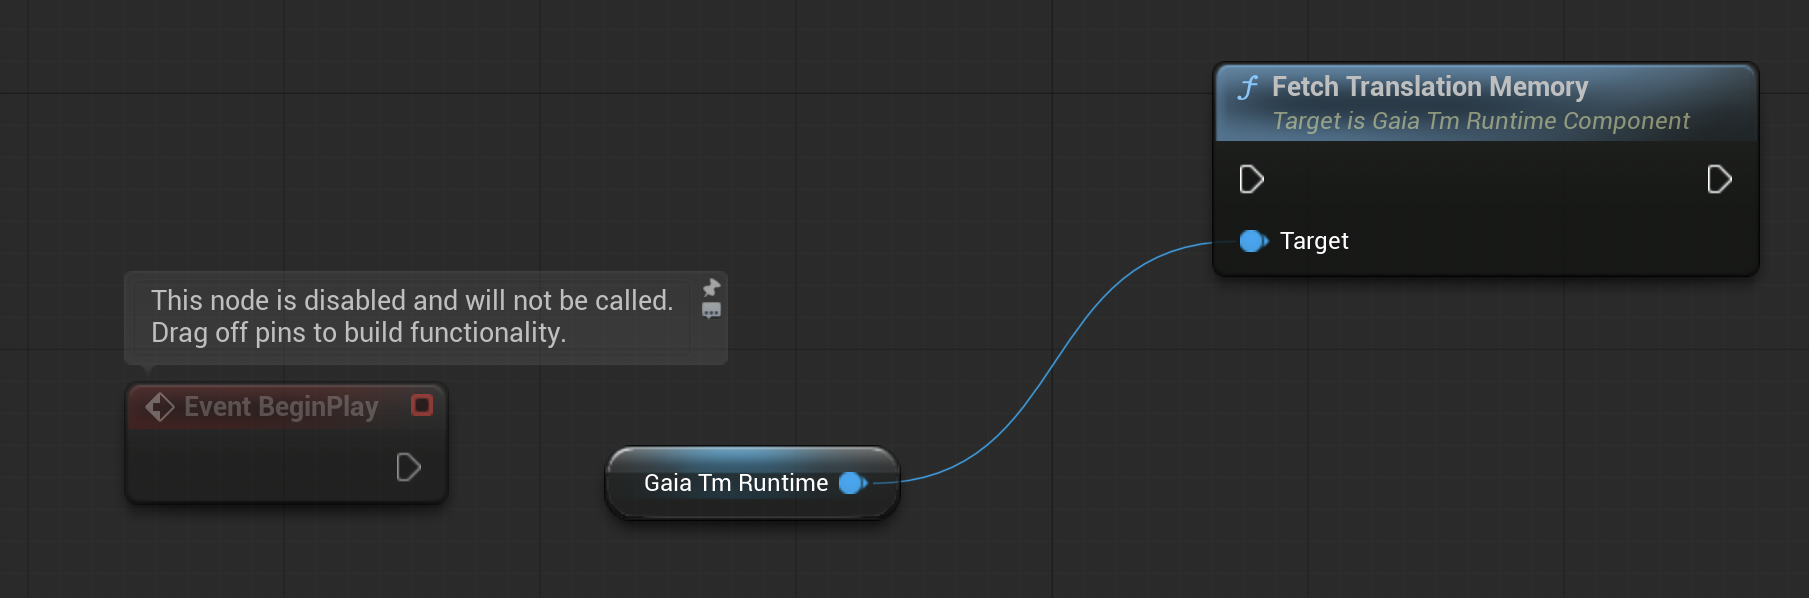
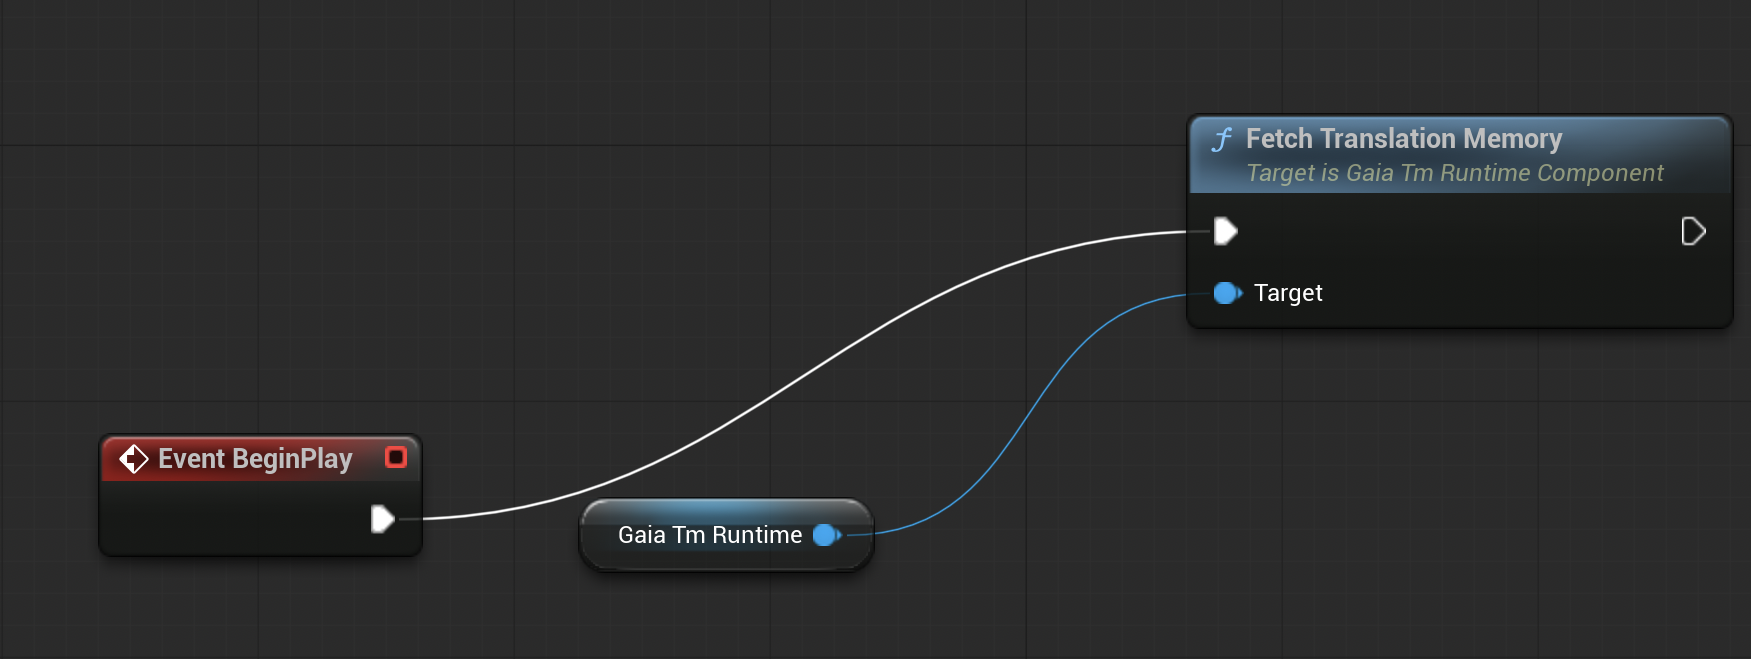
Connect BeginPlay’s white execution pin to
Fetch Translation Memory. The required flow is
Event BeginPlay -> GaiaTmRuntimeComponent -> FetchTranslationMemory.
Step 9: Place and Play
Drag BP_GaiaTmManager from the Content Browser into the level viewport or World Outliner.
Press Play. A successful setup prints lines like Gaia TM 1/8 [reviewed] ... on screen and in
the Output Log.
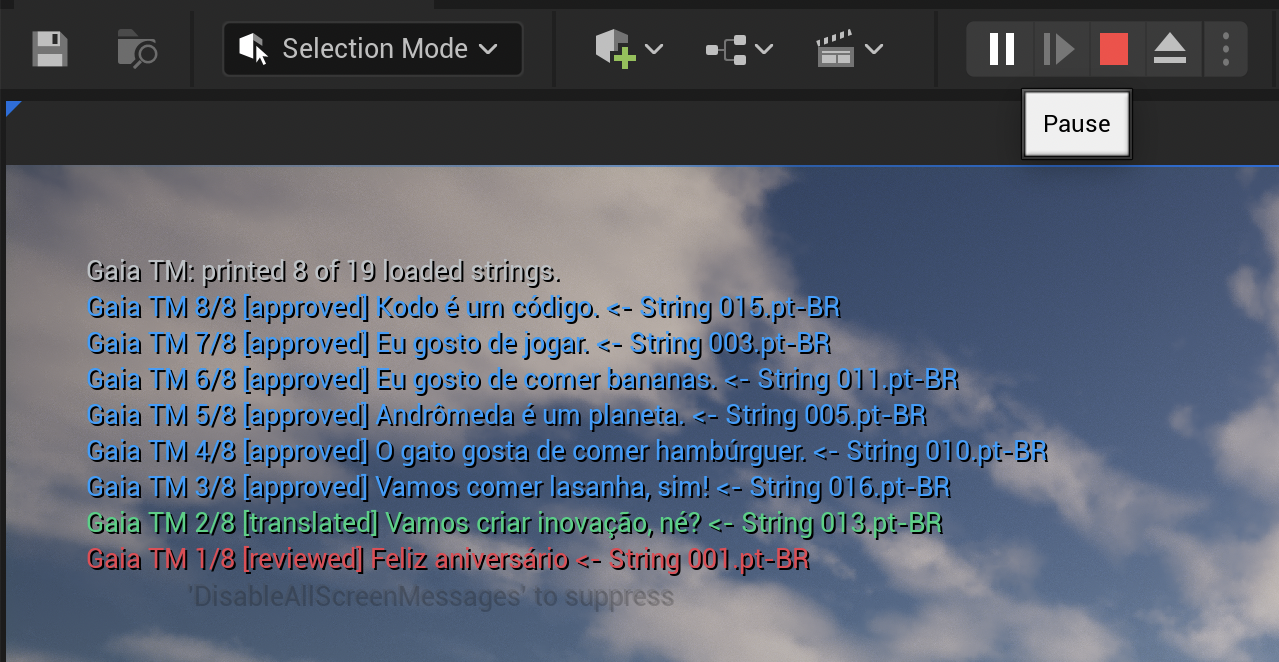
If you see Gaia TM messages in the top-left corner while the game is running, Unreal reached Gaia, downloaded the Translation Memory payload, read the workflow statuses, and applied the status colors. This is the required proof that the Unreal-Gaia bridge is working.
Step 10: Close the required setup
For localization validation, stop here. The colored top-left Gaia TM messages prove the bridge can authenticate, fetch the correct project and target language, read target strings, read workflow status, and expose status colors to Unreal. A custom UMG billboard is optional game UI work, not required setup.
Troubleshooting and production notes
If nothing prints, check the Unreal Output Log first. HTTP 401 usually means the token is
missing or expired. HTTP 0 usually means Unreal cannot reach the Gaia backend at
ApiBaseUrl. HTTP 404 usually means the project ID is wrong or your Gaia user
cannot access that project.
If Unreal says it could not find the definition for module GaiaTmRuntimeBridge, the plugin
source folder was not copied. Copy the whole docs/integrations/unreal folder contents into
Plugins/GaiaTmRuntimeBridge. If the fetch succeeds but zero strings print, open Translation
Memory and confirm that this project has completed entries for the target language.
Do not ship owner, manager, translator, or reviewer bearer tokens in a public packaged game. For production runtime text, use a short-lived read-only token service, a deployment proxy, or generated localization bundles.
Watch the full Unreal Engine TM bridge demonstration below.
Unreal Engine integration in Gaia
This gallery walkthrough shows the Unreal Engine TM bridge: loading Gaia Translation Memory into the editor, wiring Blueprint fetch logic and workflow status colors, and validating localized strings in Play mode before release packaging.